 Login
Login


How do I strip out unnecessary HTML code?
Sometimes, either due to making lots of changes to an HTML template or due to using ‘messy data’ when originally creating the template, you can find that you end up with lots of unnecessary coding in your document. As a result of this it will be hard to work with your document, or to make further changes – it is likely they may not have any effect due to all of the additional code that is present.
The example of the HTML view shown in the previous section on page breaks is a perfect amount of code for a one page document. If you go into the HTML view in a document and find you have lots more than that, it’s likely that you need to strip out some of what is there.
The easiest way to do this is to follow the steps below:
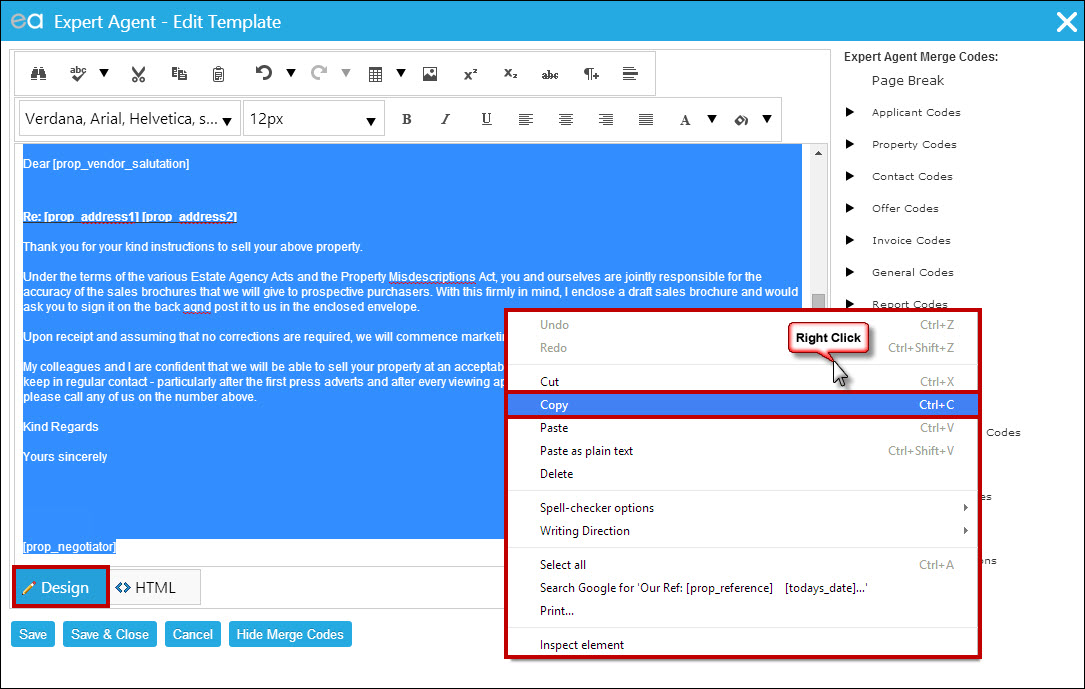
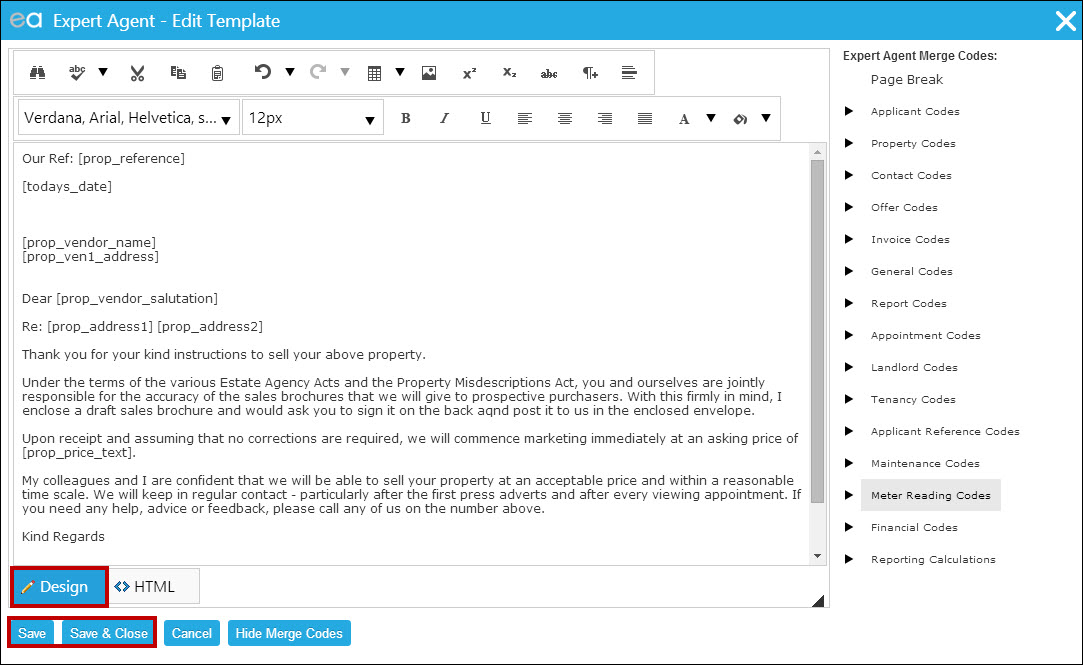
- 1. Go into your HTML template in design view, select all of the content and copy it. You may get asked to allow access to the clipboard, be sure to click ‘Allow’:
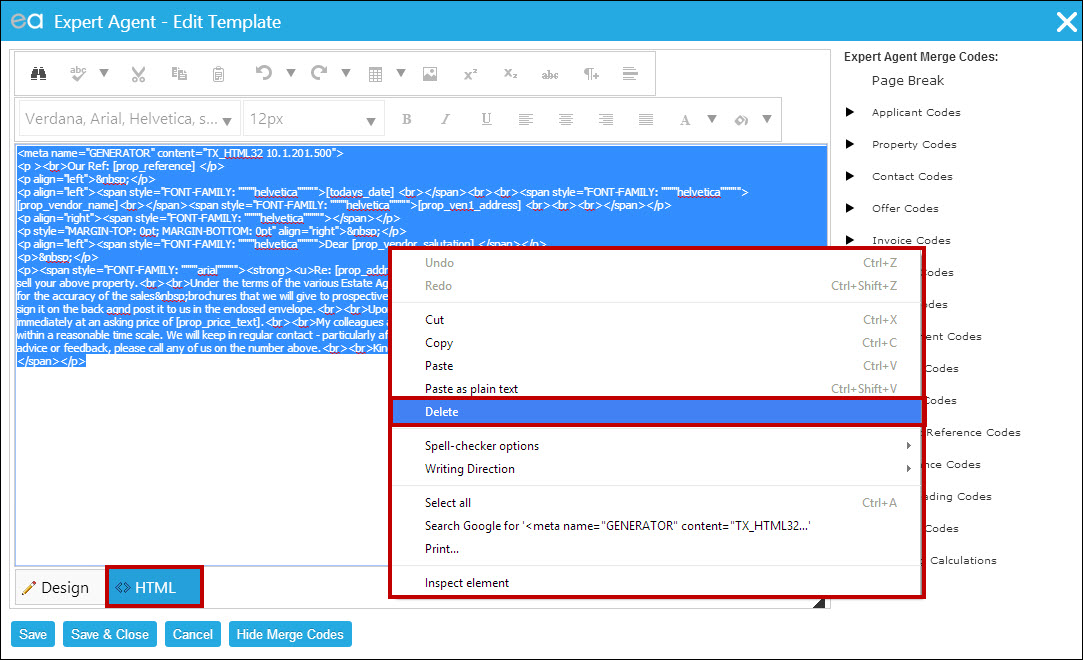
- 2. You then go into the HTML view and delete everything:
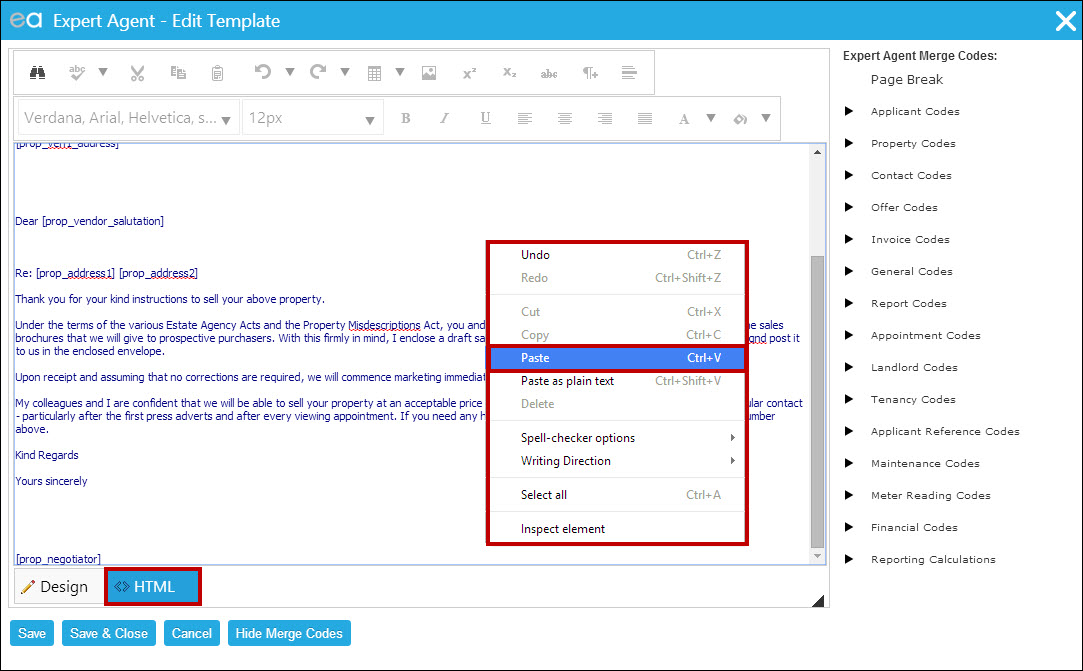
- 3. You then paste what you copied from the design view previously:
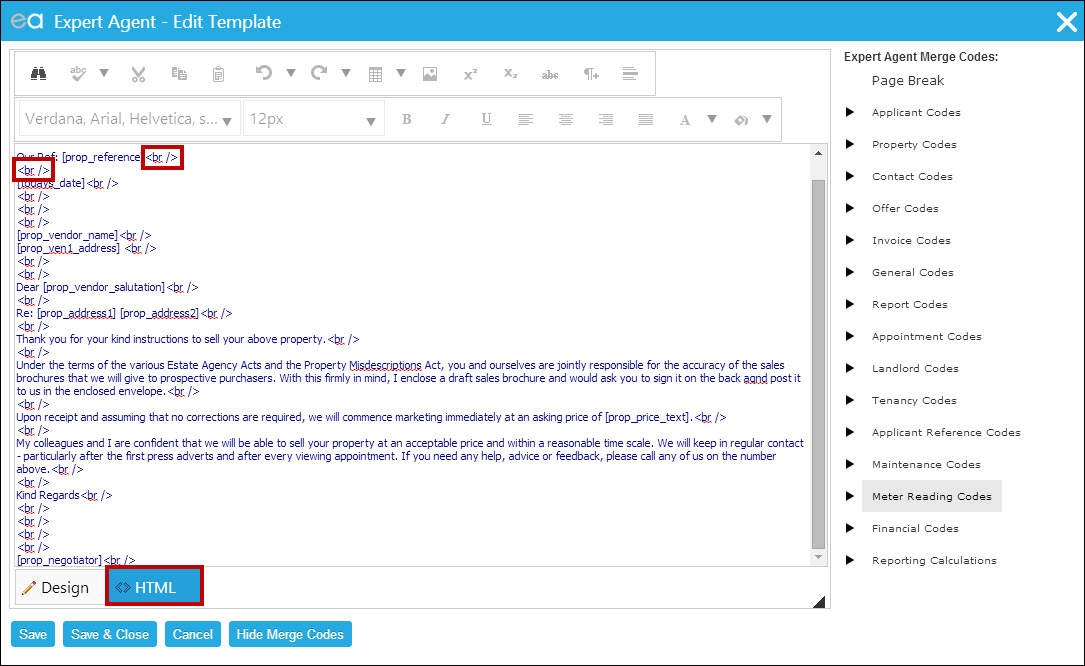
- 4. You’ll then need to insert <br /> tags wherever you want a new line – this is because in the process of pasting in what was formerly in the design view, we’ve stripped out all of the code, meaning that this text would now be showing in design view as one block despite the gaps in HTML view. The <br /> tags should go at the end of every line where you would want a new line, and also everywhere that you want a blank line to be left. For example, the letter above will go to a new line after the property reference, then it will leave a blank line, then put the date, go to a new line, leave 3 blank lines, and so on:
- 5. You will want to check how the document looks in design view before finishing – if you need to do any further formatting, you can do that and then save your changes:
How do I remove an HTML Page Break?
When deleting HTML page breaks you don’t just need to delete the ‘------ Page Break ------‘ within the design view you also need to remove the HTML code that makes these page breaks work.
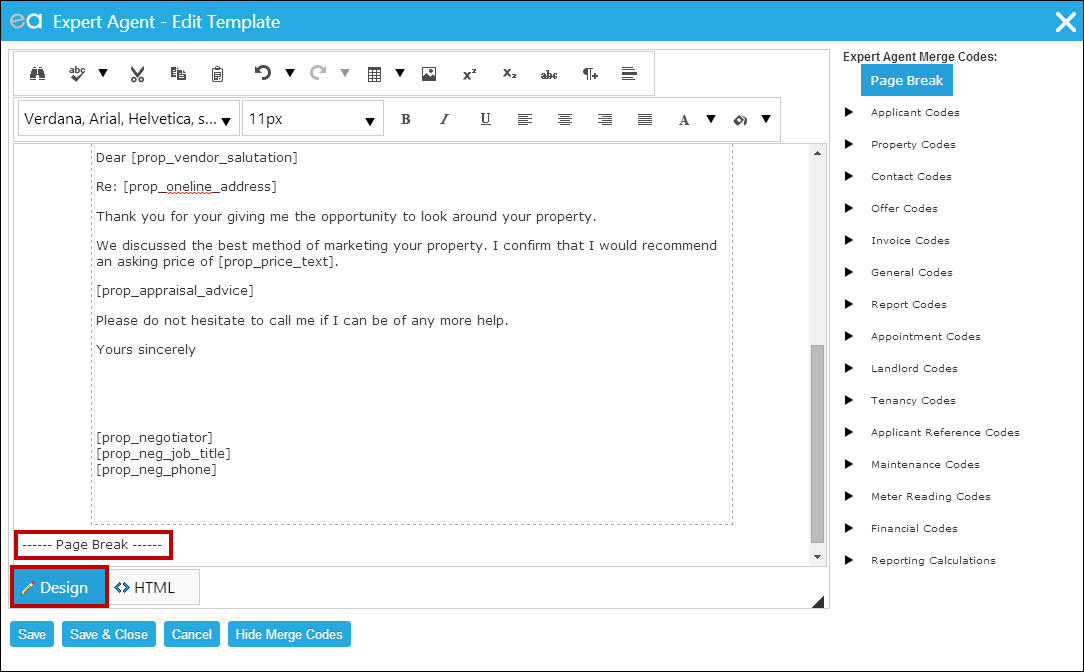
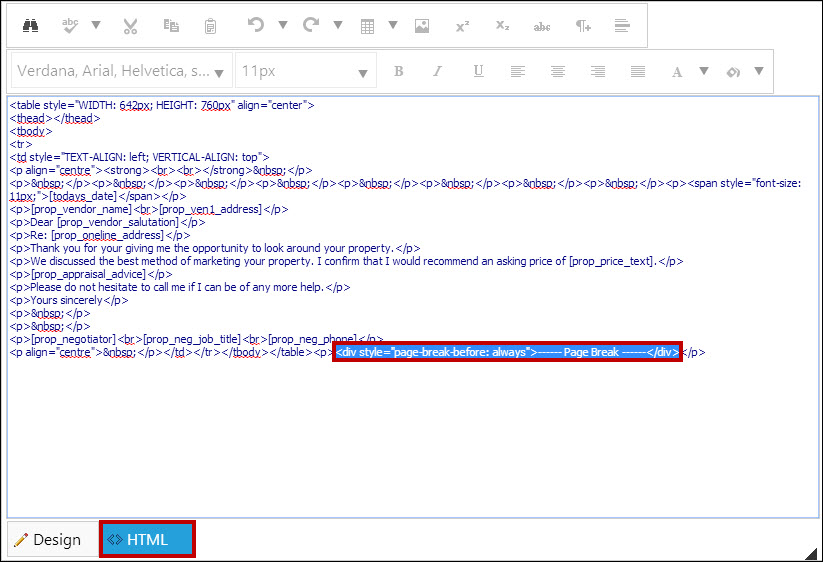
When in the HTML view of the Expert Agent template editor a page break will display as:
<div style="page-break-before: always;">------ Page Break ------</div>
Because you may not want to delete all the page breaks within a template we recommend that you mark the page breaks you would like to remove, from within the design view, to read as ‘------ Page Break ------##’. This will then allow you to see which page breaks are the ones you want to remove, now in the HTML view on the Expert Agent template editor the page breaks will display as:
<div style="page-break-before: always;">------ Page Break ------##</div>
To then remove a page break from the template you will need to remove all of this HTML code.
If you have a template that has page breaks appearing without the ‘------ Page Break ------‘ text displaying in the design view you will need to remove the following HTML code from the HTML view:
<div style="page-break-before: always;">
And:
</div>
How do I make a copy of the code for my Template?
To make a copy of the code for your template before starting to edit it, you will need to open the template and go into the HTML view:
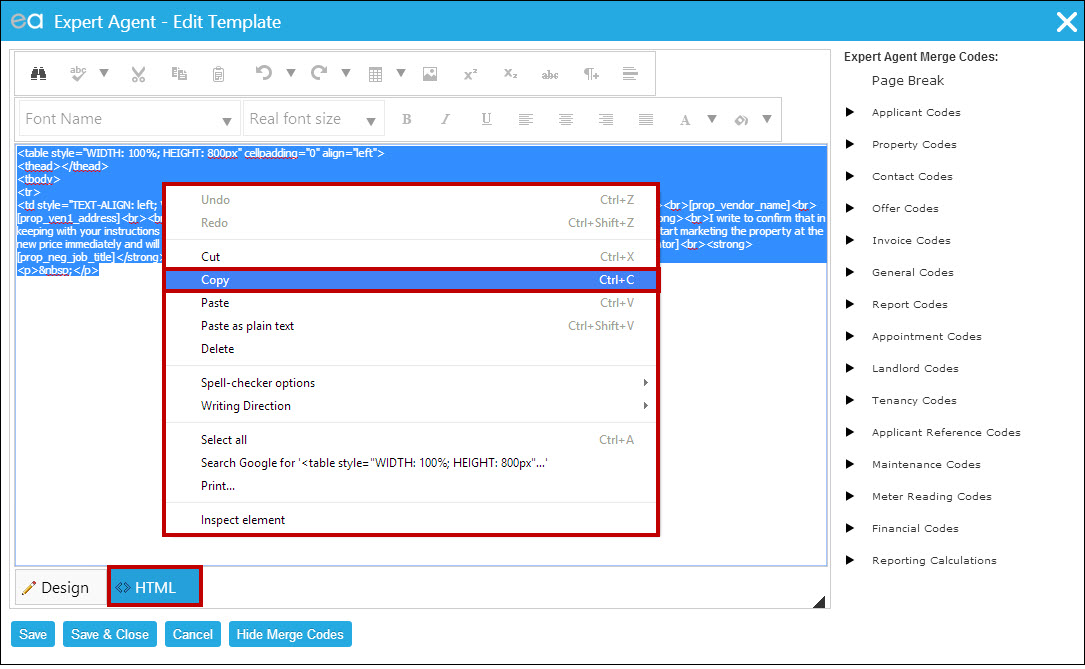
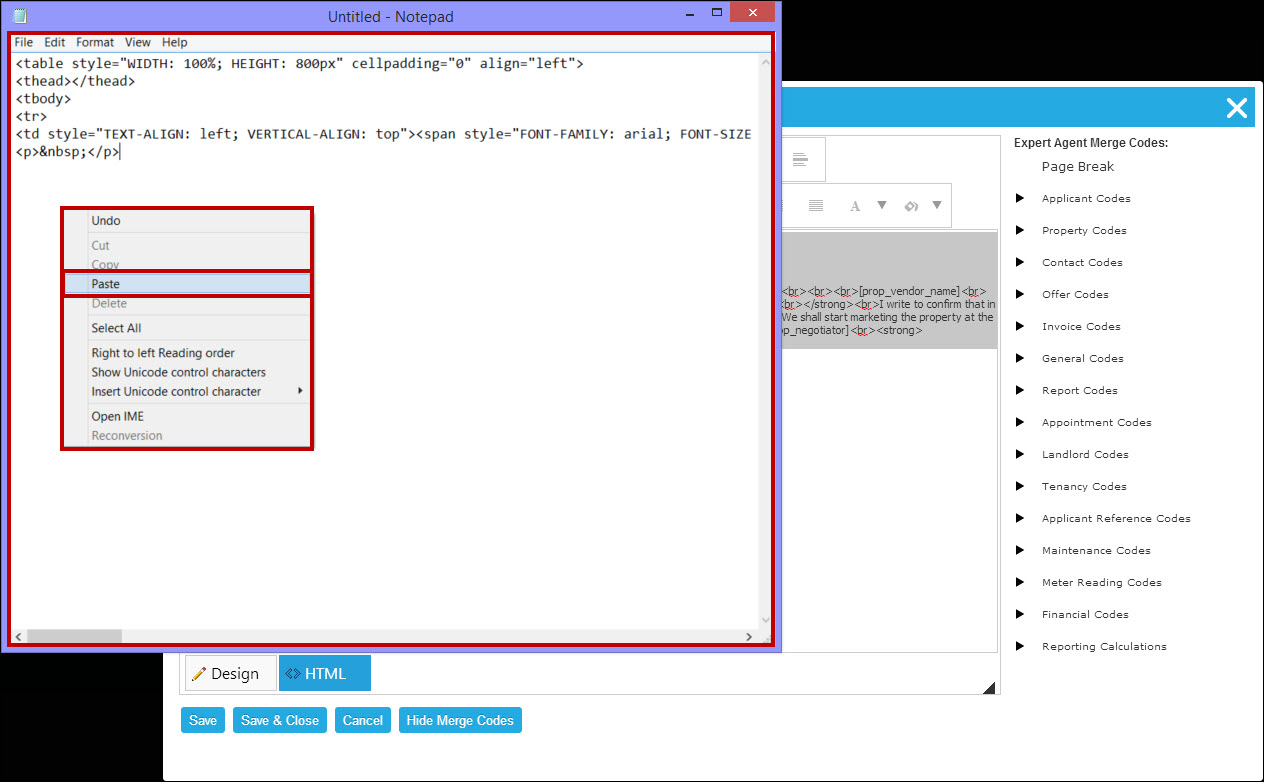
Highlight all of the text and copy it (Ctrl + C on your keyboard, or right click – Copy).
Open Notepad from your start menu and click ‘Paste’:
If you were to make a mistake and need to revert to this original code you’d just copy and paste the code from the Notepad back into the HTML editor.
How do I create an opening bank balance?
When you first start using Expert Agent, ideally you would create your opening bank balance by Posting Opening Balances on your individual landlords and tenancy records so that you are able to start with correct balances on your records. These individual balances will then show in your bank on Expert Agent which should total up to mean that in theory your total balance on Expert Agent will match that of your bank balance.
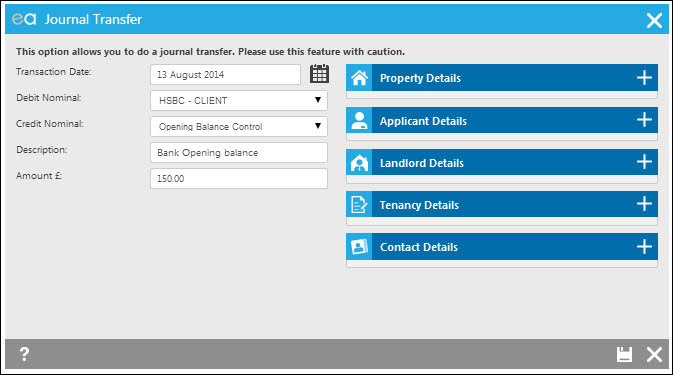
It may be the case though that part of your bank balance is made up of funds that you are unable to assign to a client. In this scenario you would need to post a Journal Transfer. The journal transfer function is found in the Accounts sub menu of the Finance drop down.
You would select "client account" as your debit nominal and "opening balance control" as your credit nominal. Don't forget to choose an appropriate date for the transaction.
Tel: 01225 303500 | Email: account.managers@webskyltd.com
Terms of Business | Cookie Policy | Privacy Policy | ZPG Modern Slavery Statement
Designed by the Expert Agent Design Department
