Using the Viewings Planner
The Viewings Planner is the best tool to use when an applicant would like to book viewings for multiple properties. It’s the best way of avoiding double bookings, and it makes it as quick as possible for you to add multiple viewings – each appointment still gets its own appointment form, to ensure you can manage the chase and feedback process effectively, but you don’t have to assign all of the data to the form each time.
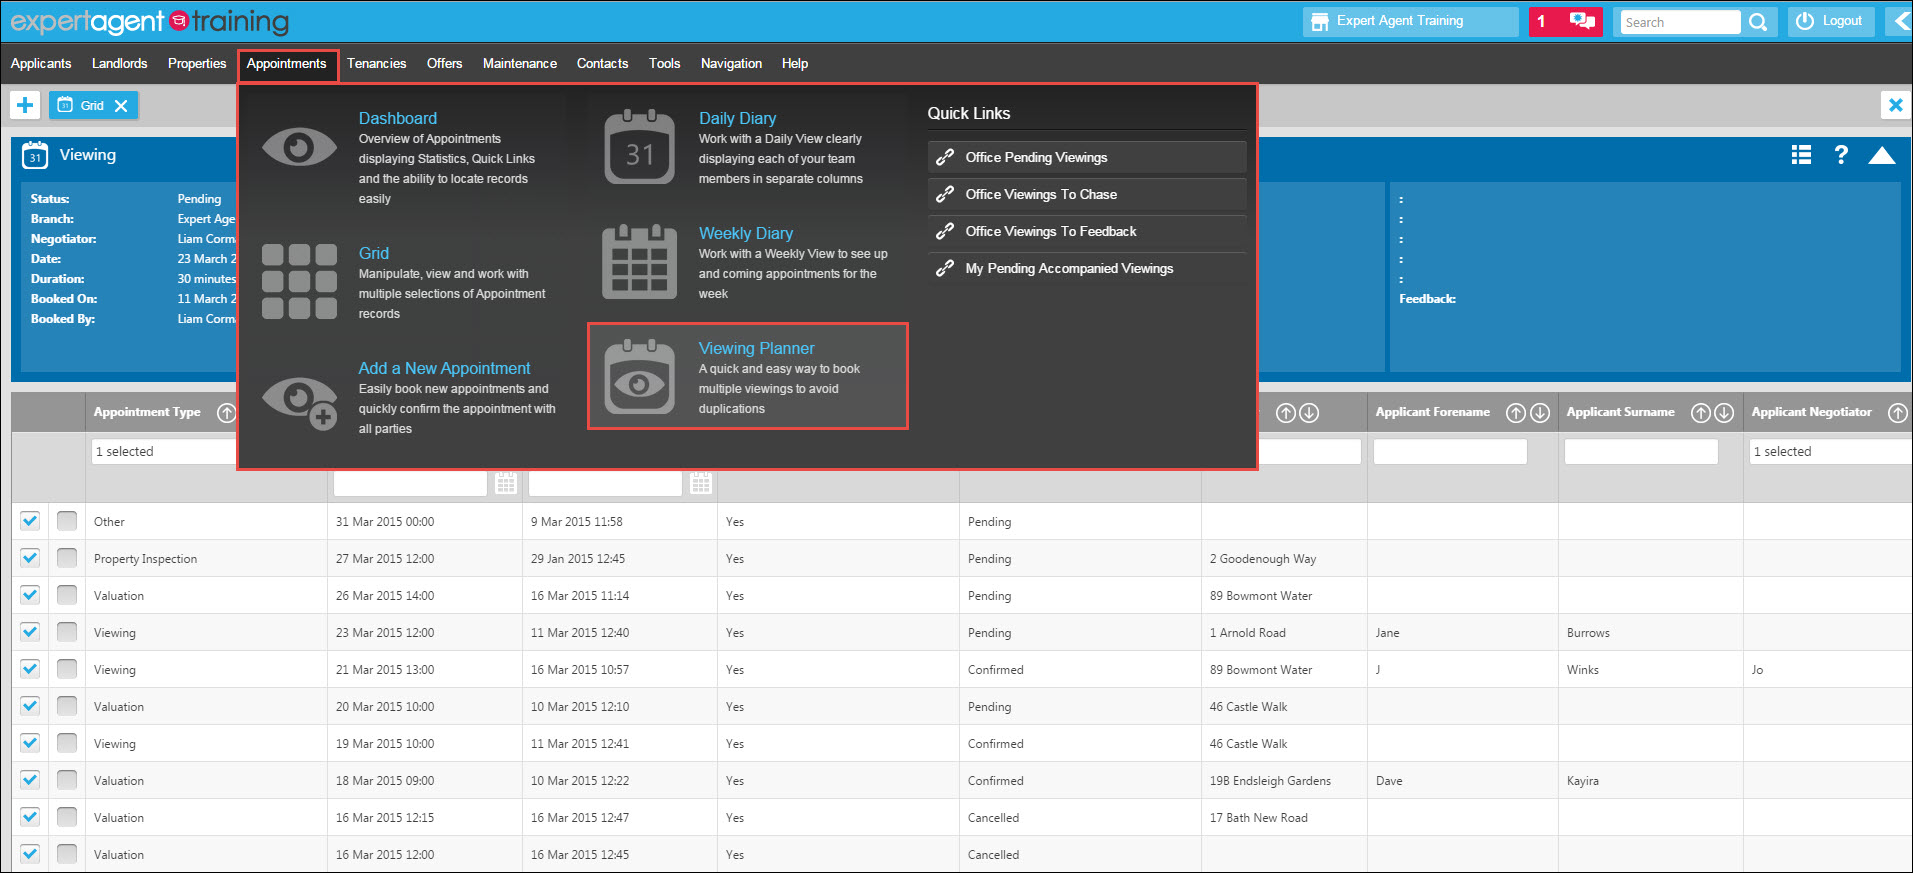
You can open the Viewings Planner from the appointments top menu.

Hover over 'Viewings' in the Top Menu and select 'Viewings Planner'
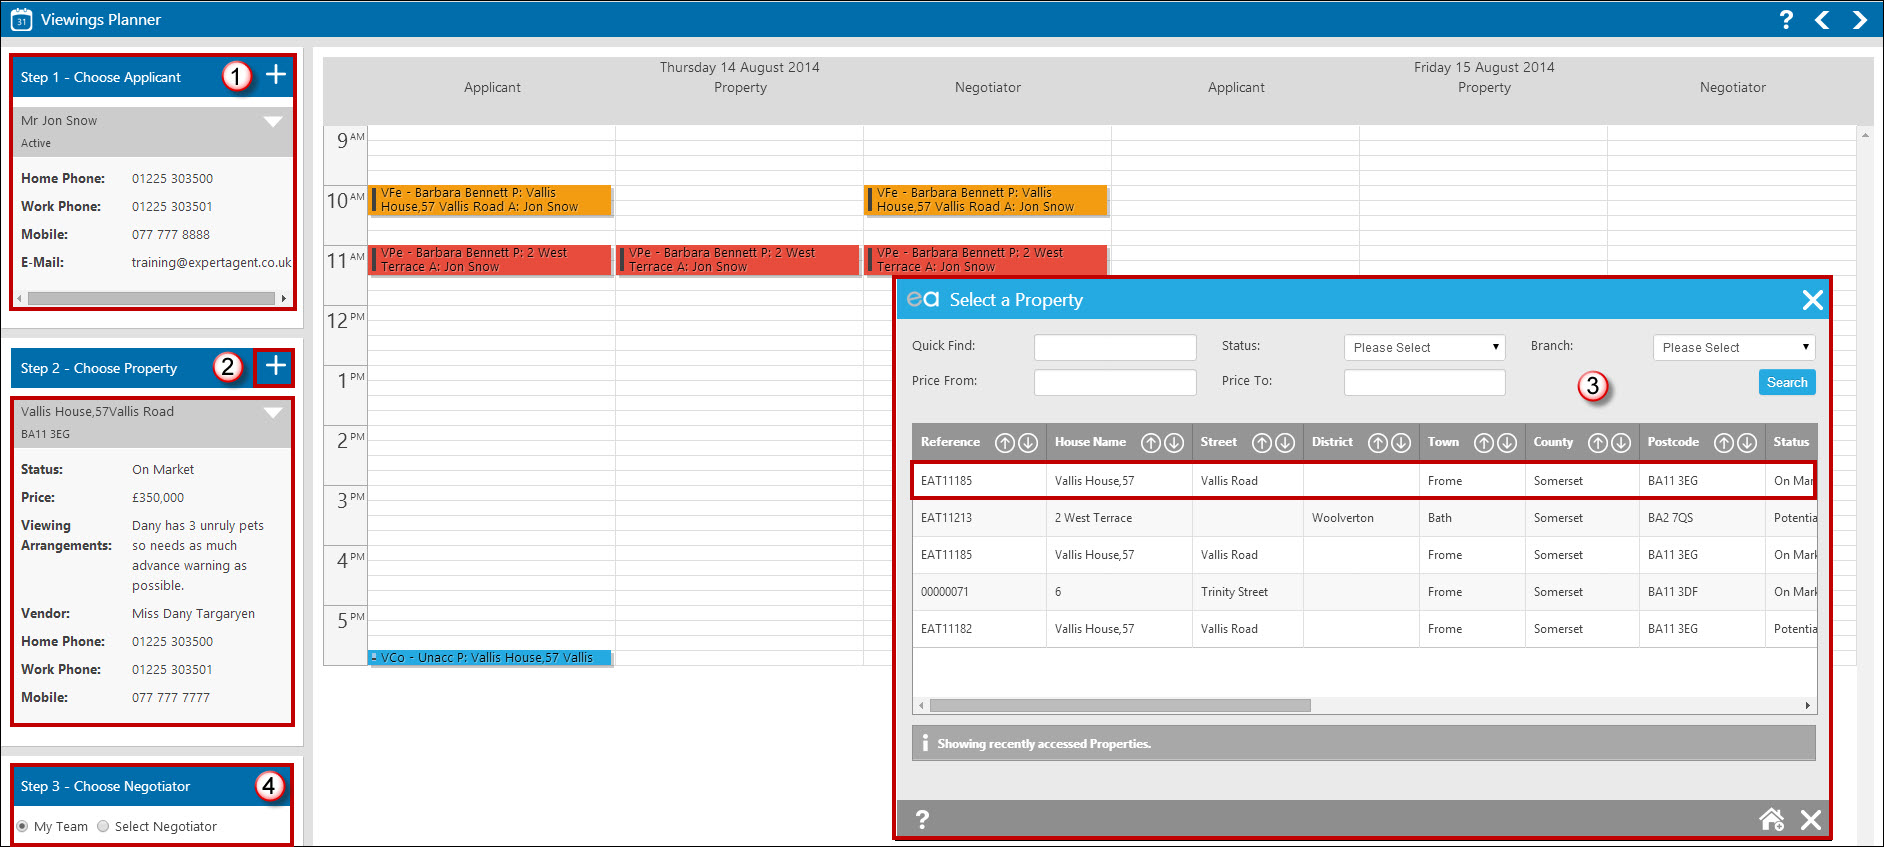
The Viewings Planner will open. The planner will have multiple columns per day, showing you the applicant’s diary.

- If your applicant is not already assigned click the '+' option to assign them.
- If your property is not already assigned click the '+' option to assign them.
- Select a property from your navigation history or use the ‘Quick Find’ box to search for a property. Clicking on the property will select it and return you to the viewing planner.
- Check the ‘Select Negotiator’ option, and select the relevant negotiator (or ‘unaccompanied’) from the drop down. You will now be seeing three columns in the viewing planner, one specifically for your applicant, property and chosen negotiator OR if you need to beware of office cover select the 'My Team' option to display all staff appointments.

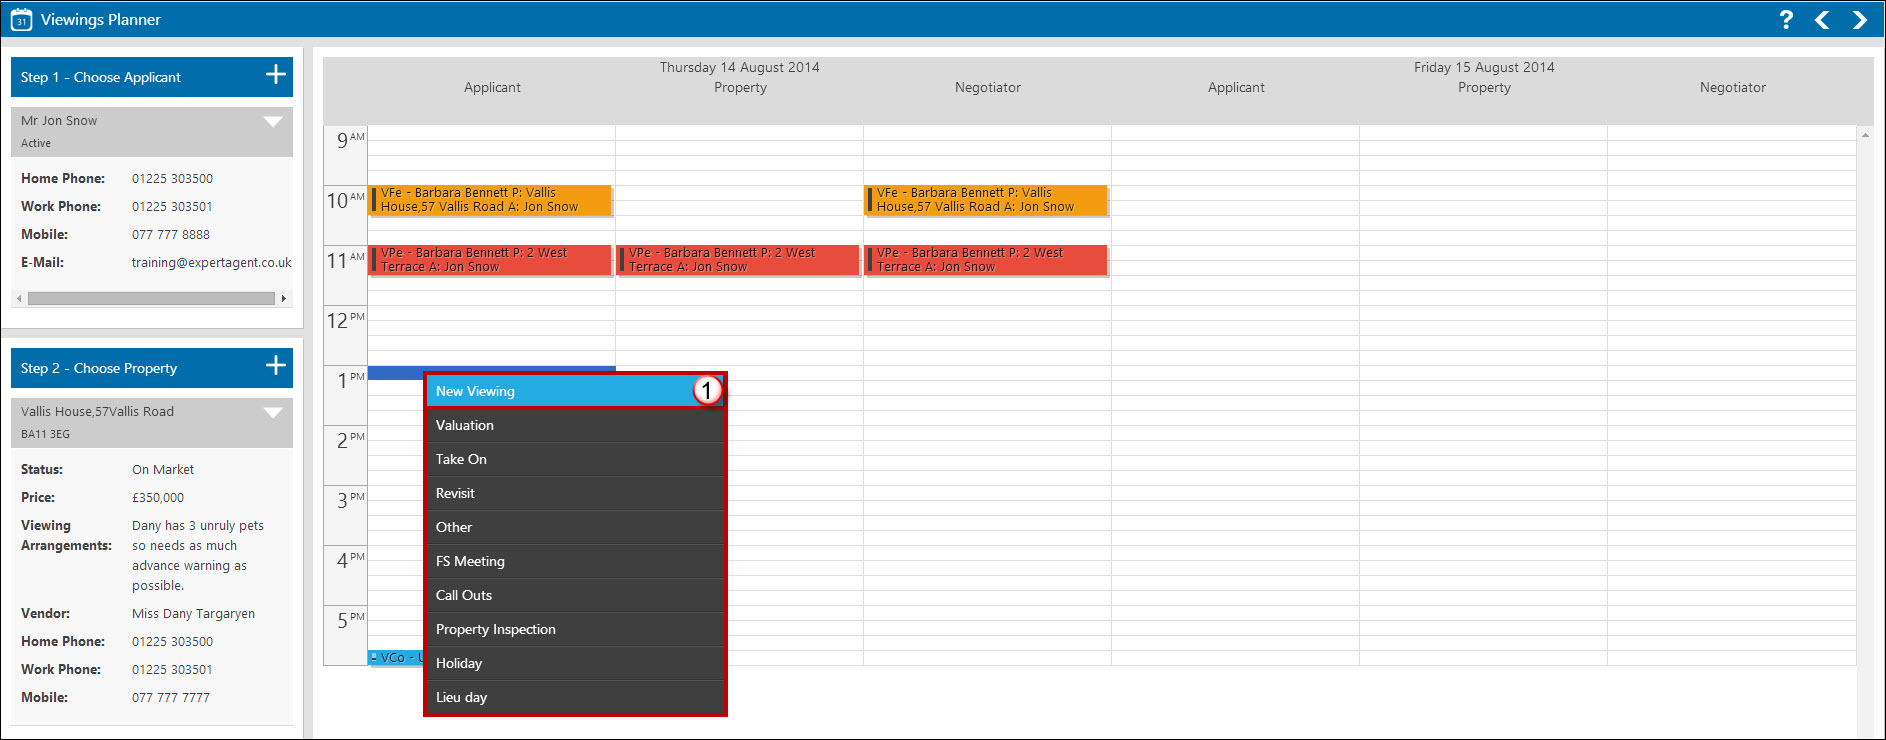
- Right-click on the diary and select ‘New Viewing’. The standard viewing form will appear for you to fill in as before – remember the property and applicant will already be assigned so you won’t need to do this.
Once you are finished with that appointment you will ‘Save & Close’, change the property at the top of the viewing planner, and repeat the process. Appointments will show in all of the relevant columns.

 Login
Login

