 Login
Login


How Do I Remove a Landlord from a Property?
PLEASE BE WARY WHEN DOING THIS IF YOU ARE USING LETTINGS FINANCE. IF UNSURE, LOG A SUPPORT TICKET
If you ever need to remove a Landlord Record from a Property you can do this by following the steps below:
N.B You cannot remove a Landlord that has 100% on the property so you will need to add a new Landlord first. If you two or more Landlords assigned to a Property and need to remove one please scroll down to image three)
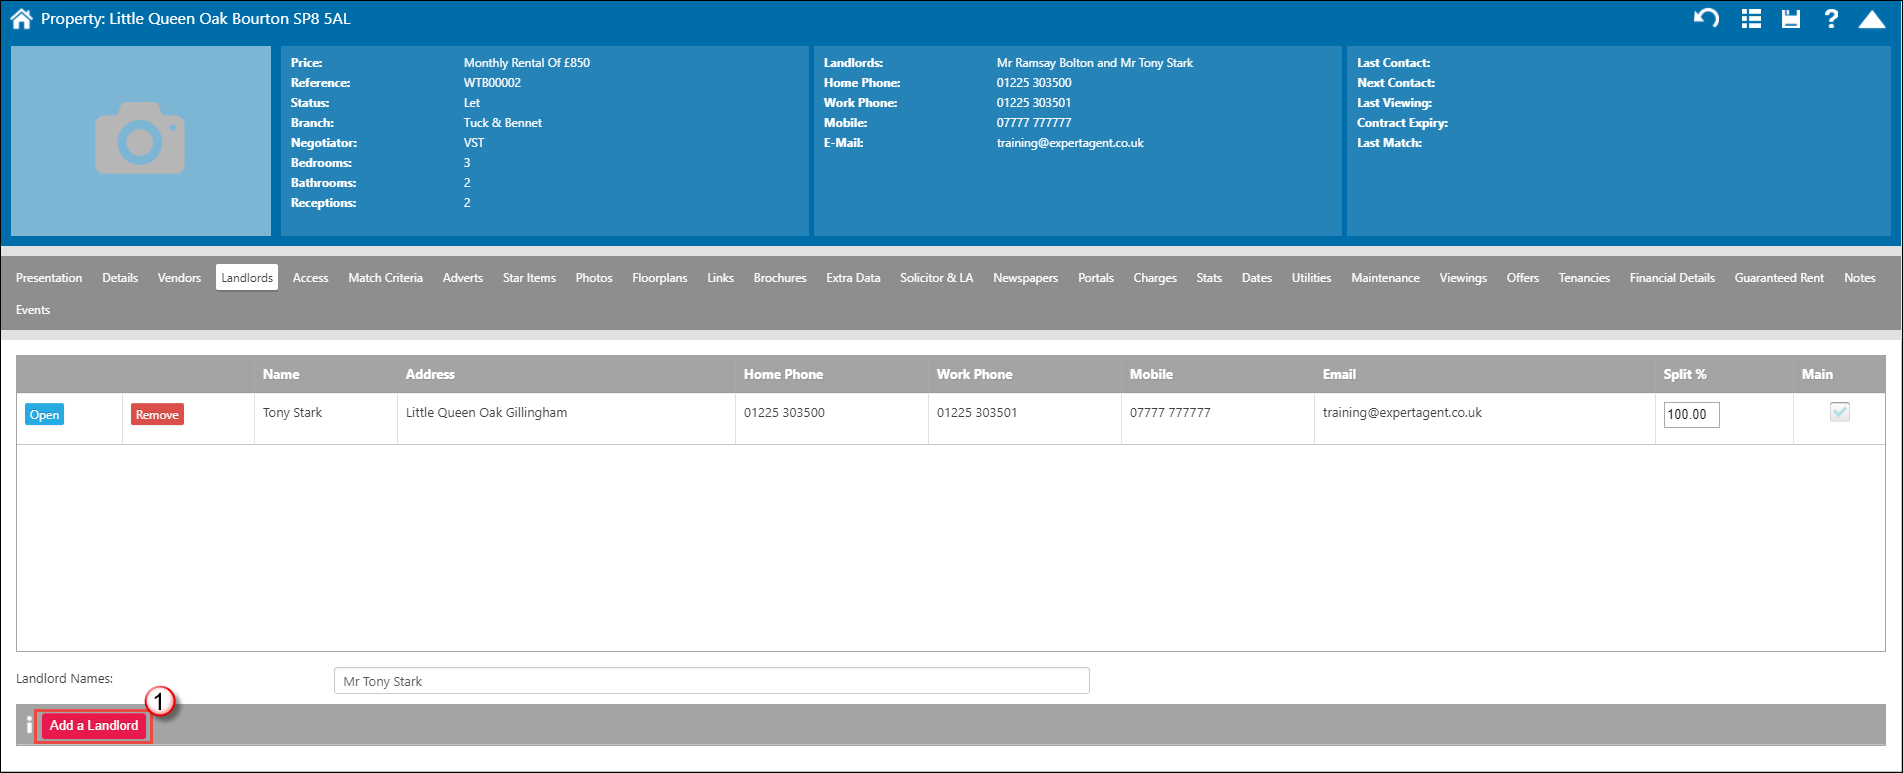
1. On the Landlords tab of a Lettings Property click "Add a Landlord".
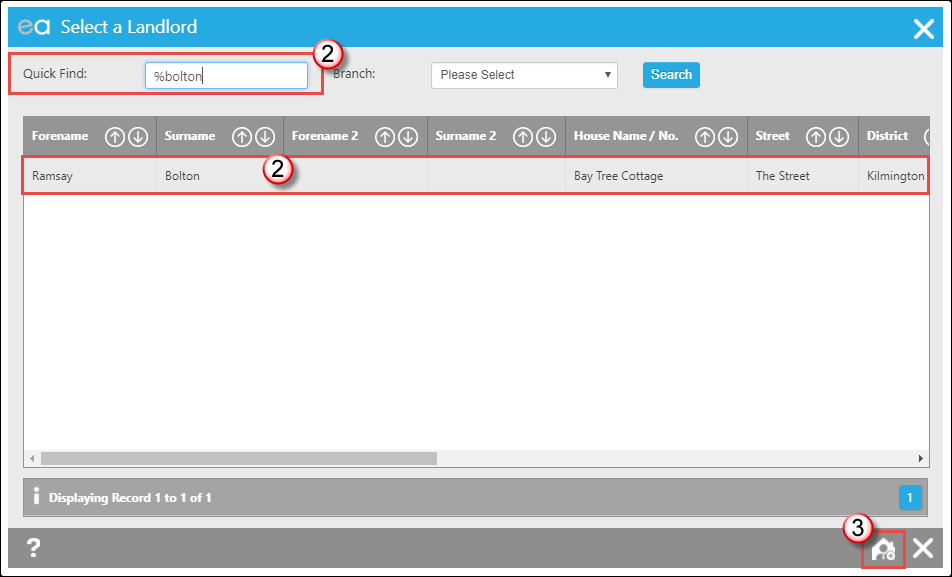
2. If the Landlord is already on the system, use the Quick Search box to search for them, click on their name and they will be added to the Property.
3. Or Click on the Add New Landlord icon to go through to the Landlord Wizard (see the Landlords section of the manual for more help on this).
Once the New Landlord is added, follow the steps below to remove the one no longer needed:
(If there is more than one Landlord already assigned to the Property:)
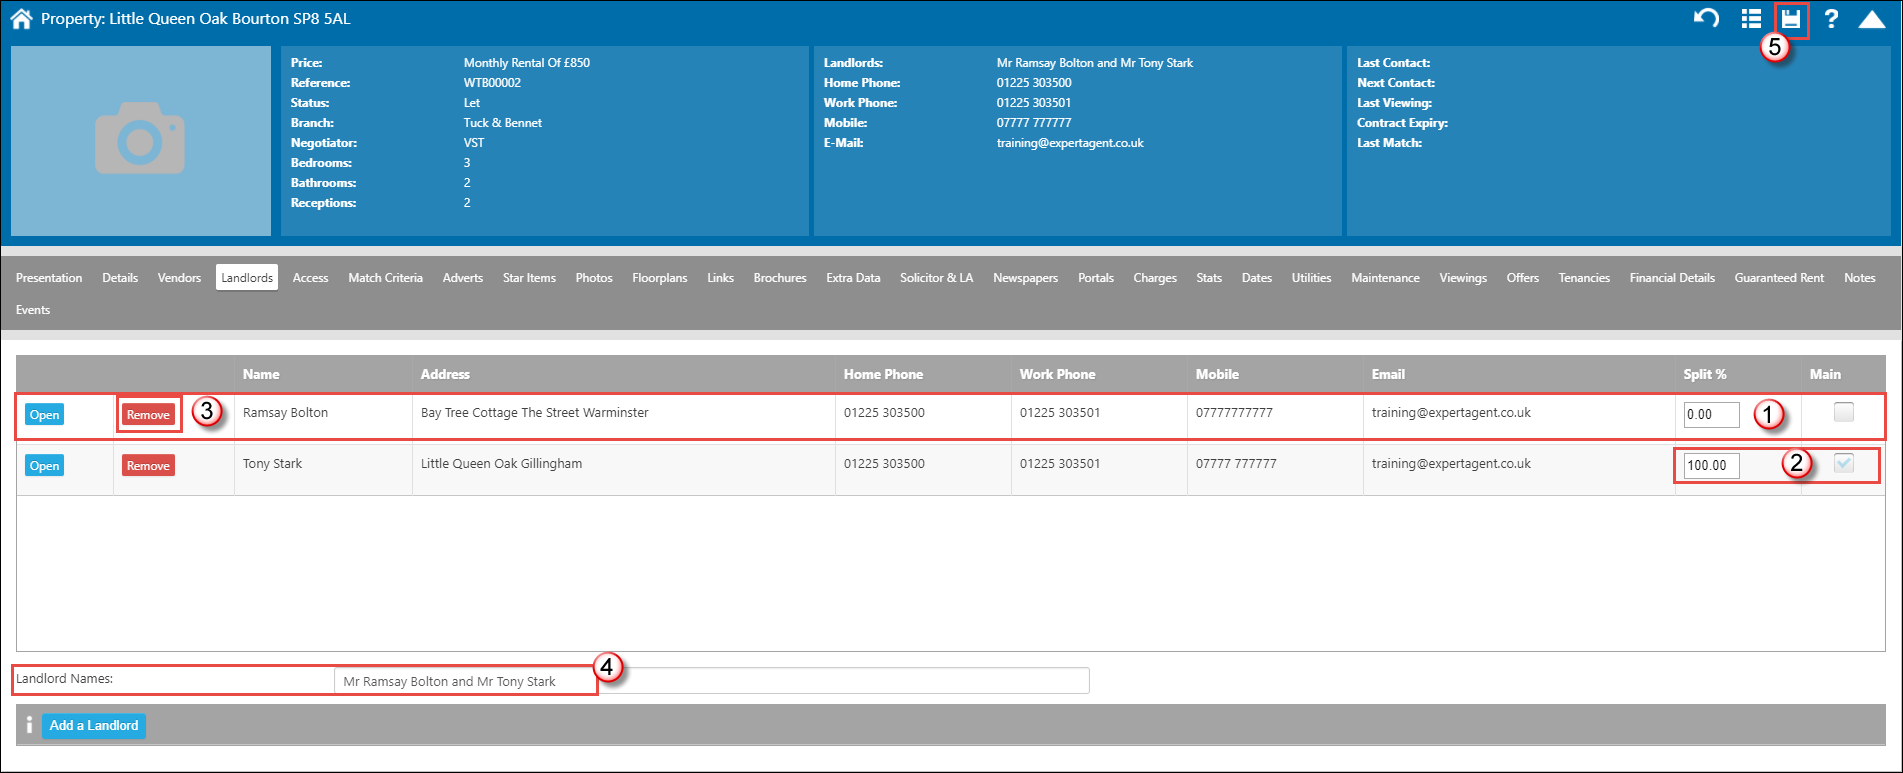
1. Make sure that the Landlord you wish to remove has 0 in the split box and is NOT ticked to be the main Landlord.
2. The Landlord you wish to remain on the Property needs to have 100% and be the Main Landlord.
3. Click "Remove" next to the Landlord you wish to remove from the Property.
4. Check the Landlord Names field is correct.
5> Save the Property record.
How Do I Remove a Tenant from a Tenancy?
PLEASE DO NOT FOLLOW THIS IF YOU ARE USING LETTINGS
FINANCE. PLEASE LOG A SUPPORT TICKET.
If you are wanting to remove a Tenant from a Tenancy because they are moving out, it is always suggested that you end the current Tenancy and create a new Tenancy record containing the new Tenant.
If you have added a Tenant onto a Tenancy incorrectly you can remove them by following the steps below:
If your Tenancy status is PENDING then the Tenant can be removed by simply pressing the "Remove" button next to their name on the Tenants Tabs of the Tenancy Record.
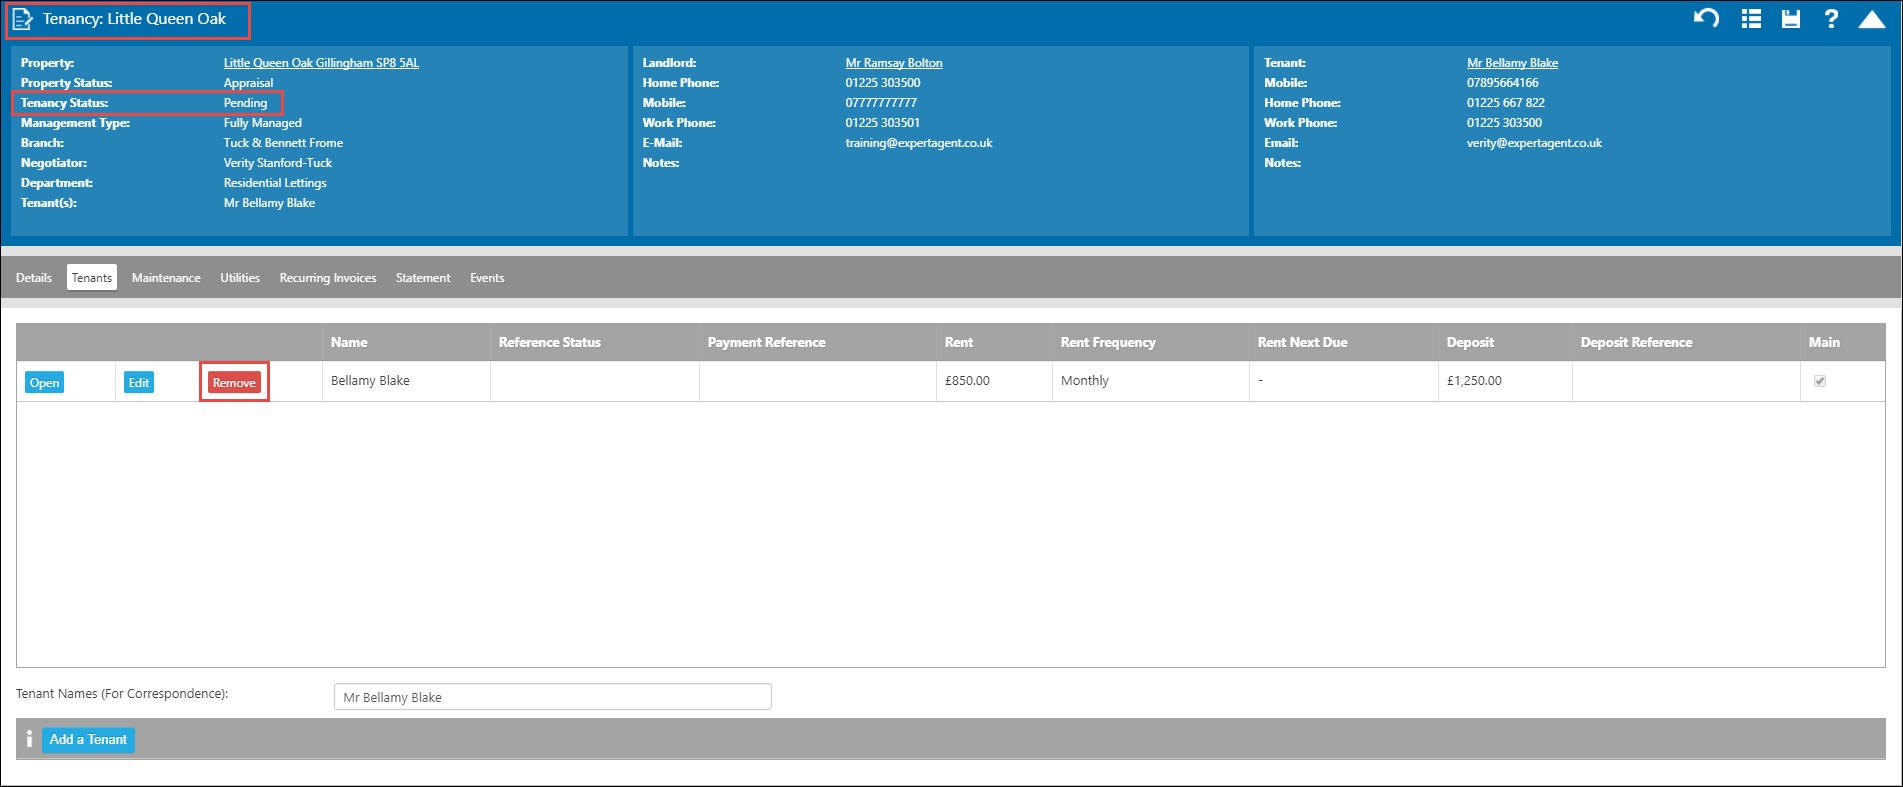
Then proceed to add the correct Tenant by clicking Add a Tenant at the bottom of this screen. Making sure you correct the "Tenant Names" field if needed.
If your Tenancy is Let:
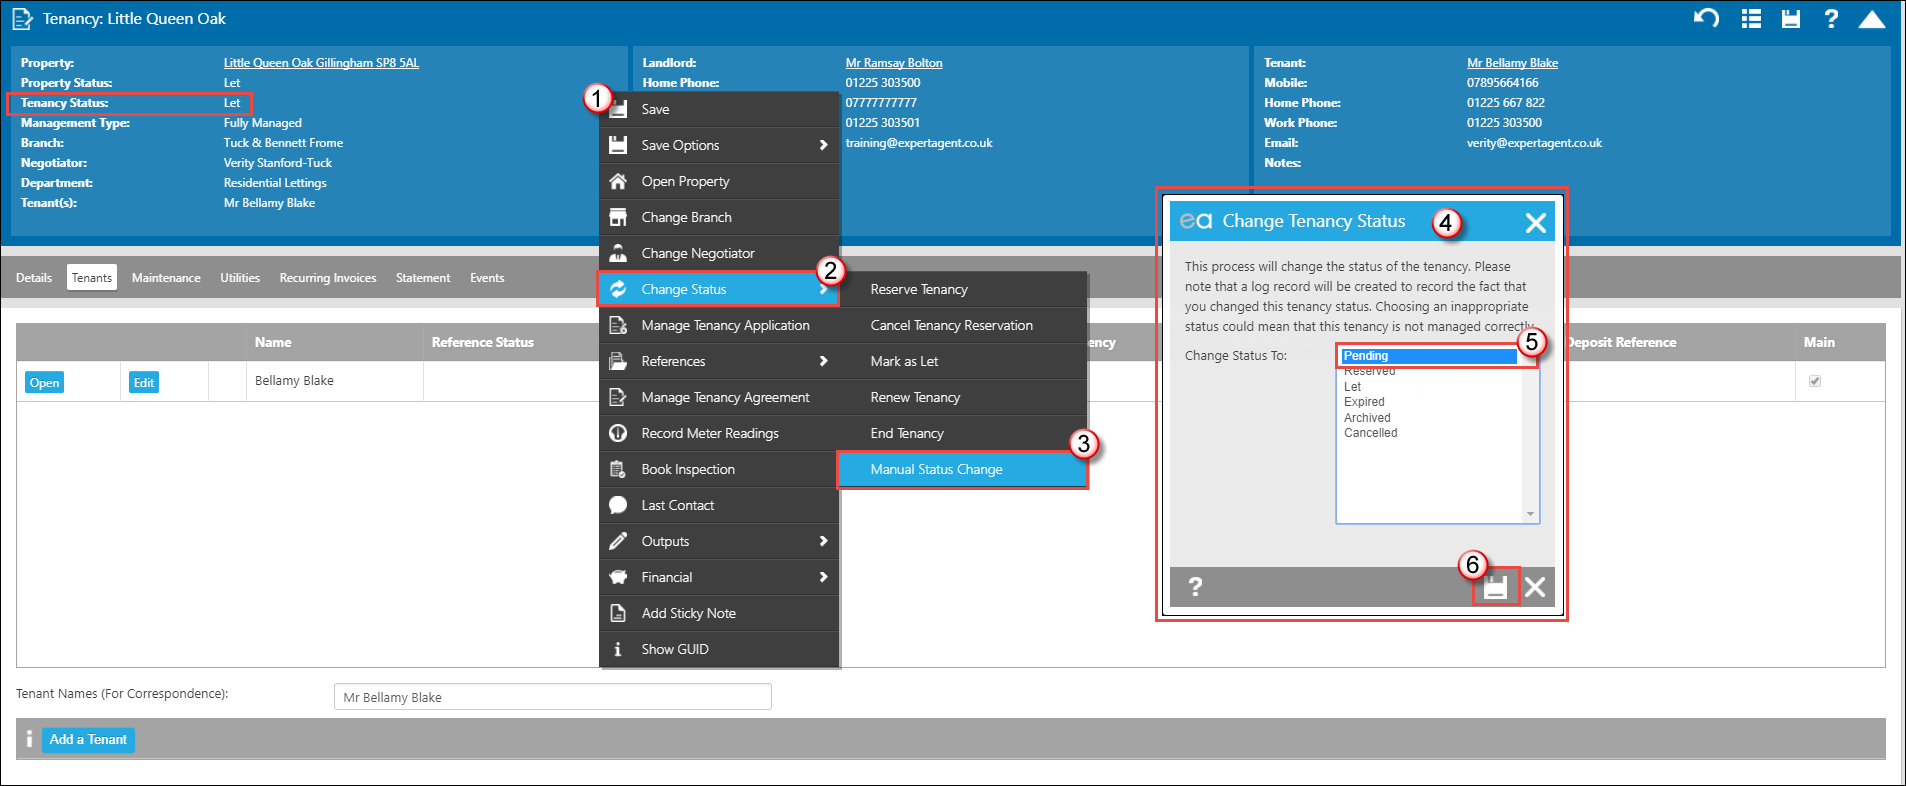
 1. Right Click to open the Action Menu.
2. Hover over Change Status.
3. Click on Manual Status Change
4. This will open the Change Tenancy Status popup box.
5. From here select "Pending".
6. Press Save.
Reload the Tenancy by pressing F5 on your keyboard (cmd + R for Mac users) and then follow the first section to remove the Tenant.
How Do I Add A Logo To An HTML Template?
To insert a logo in to your HTML templates, you first need to open the master template.
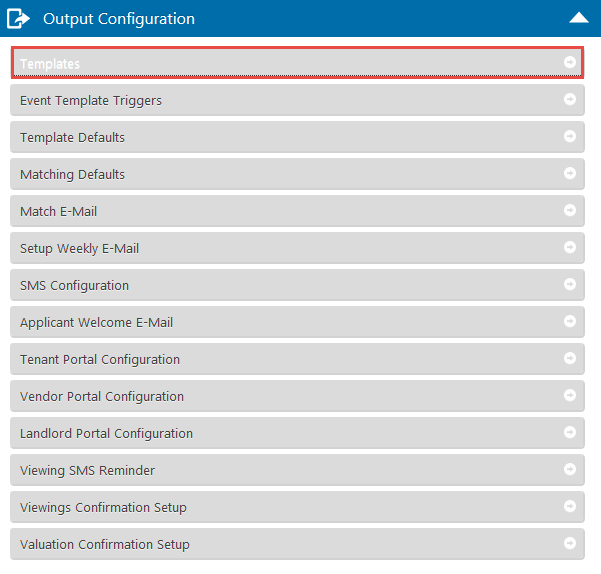
Go to Tools in the top menu, and open Configuration.
Under Output Configuration, select Templates.
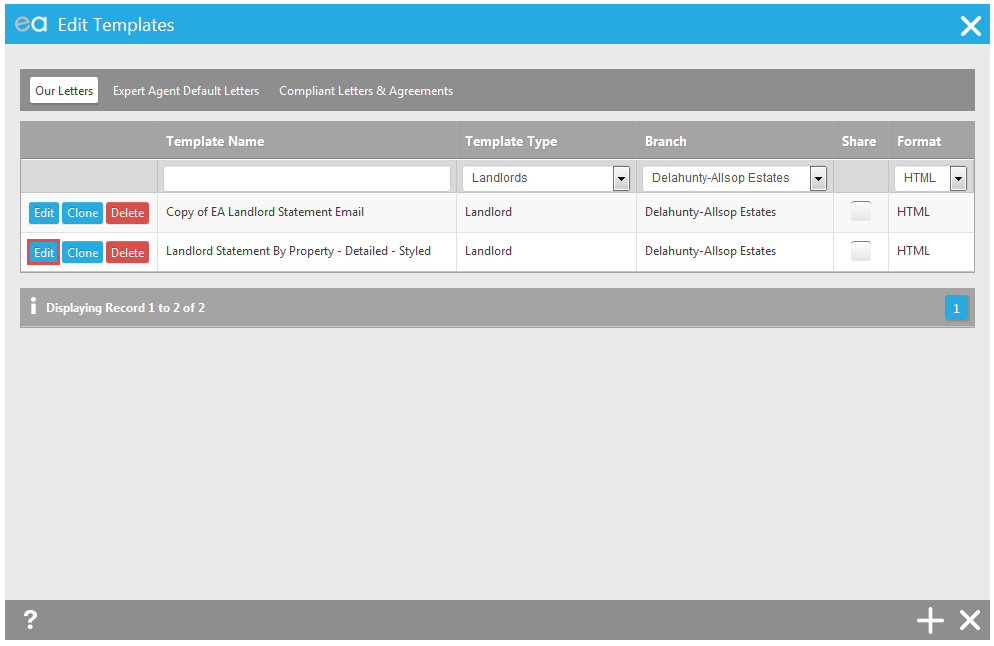
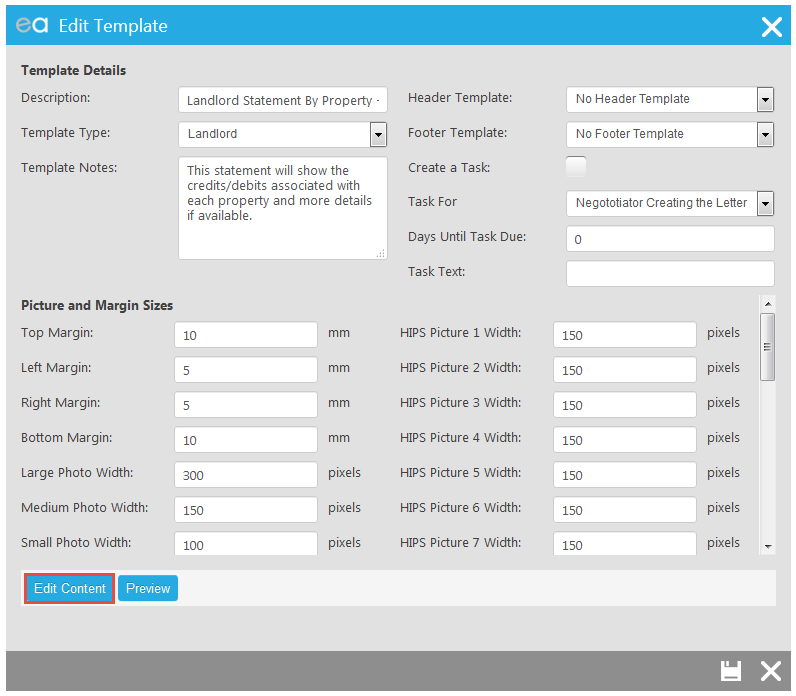
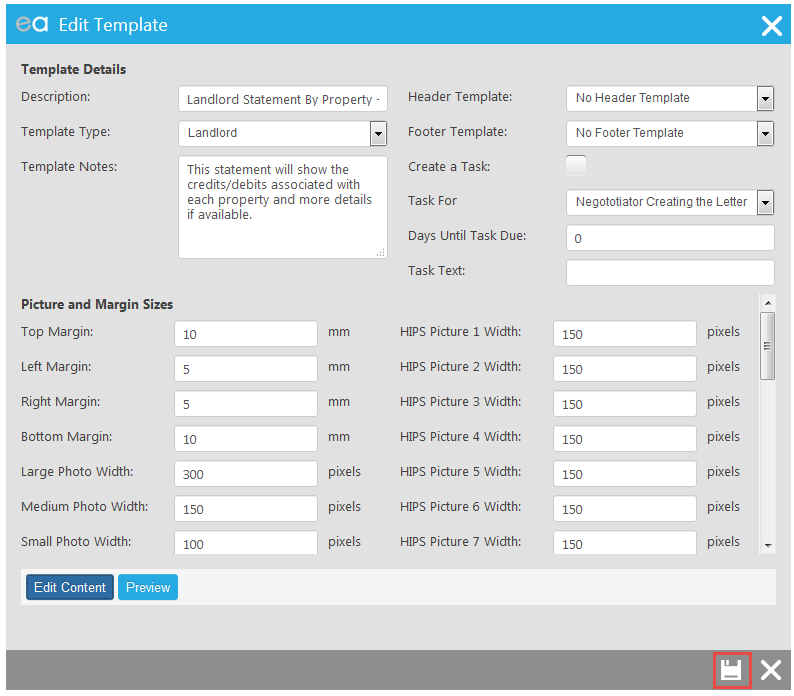
Find the document you are going to work with, and click Edit
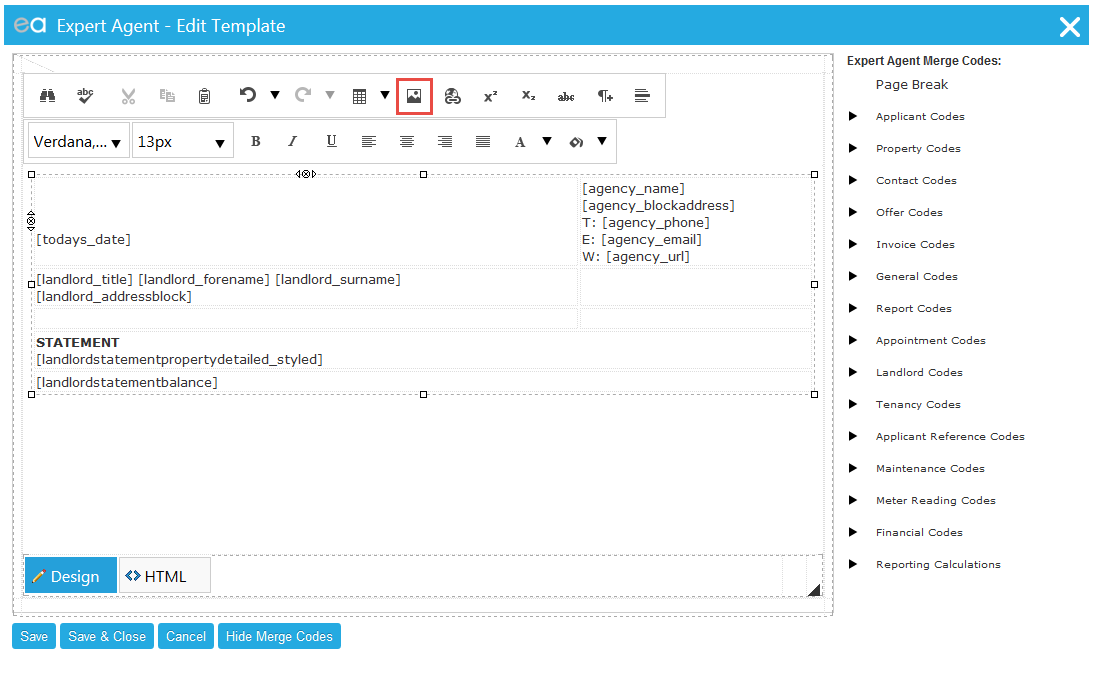
And then Edit Content
When the template opens, click the Image icon.
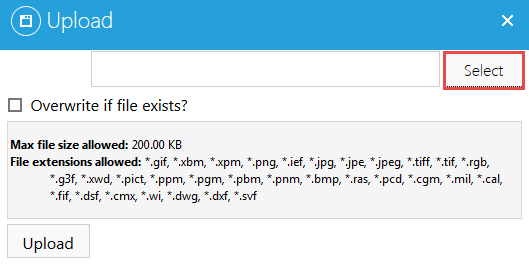
When Image Manager opens, click Upload.

And then Select, and find your logo on your local hard drive
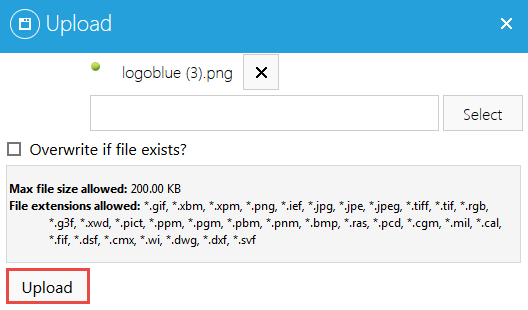
When your upload appears, click Upload
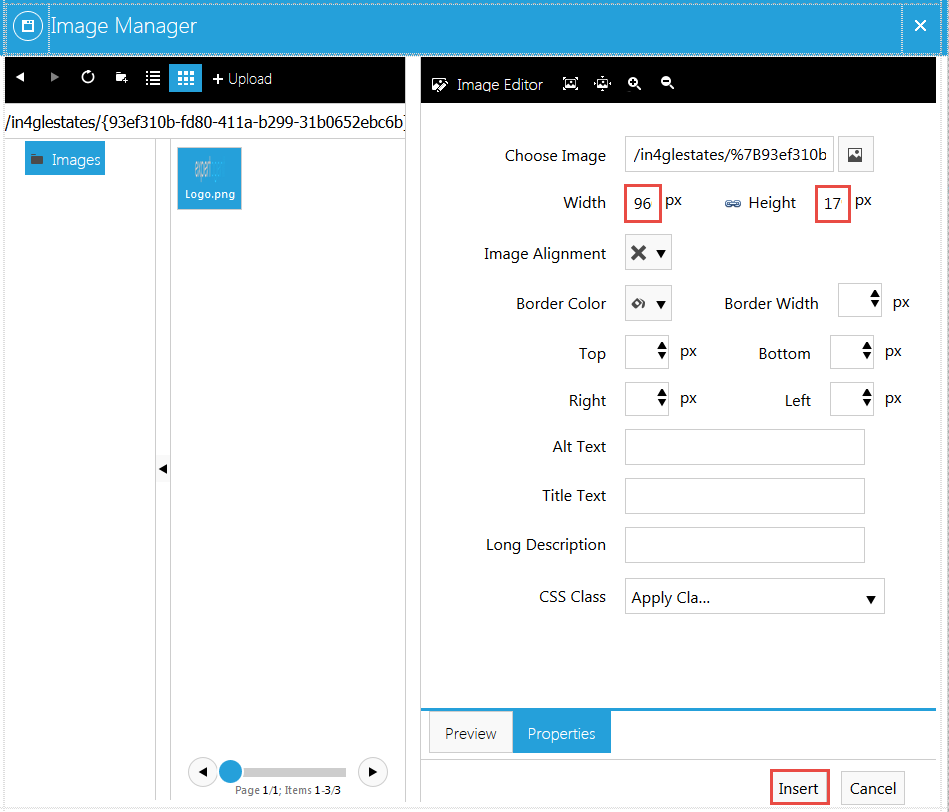
Your logo will display on the left hand side. Select the image, and then click Properties.
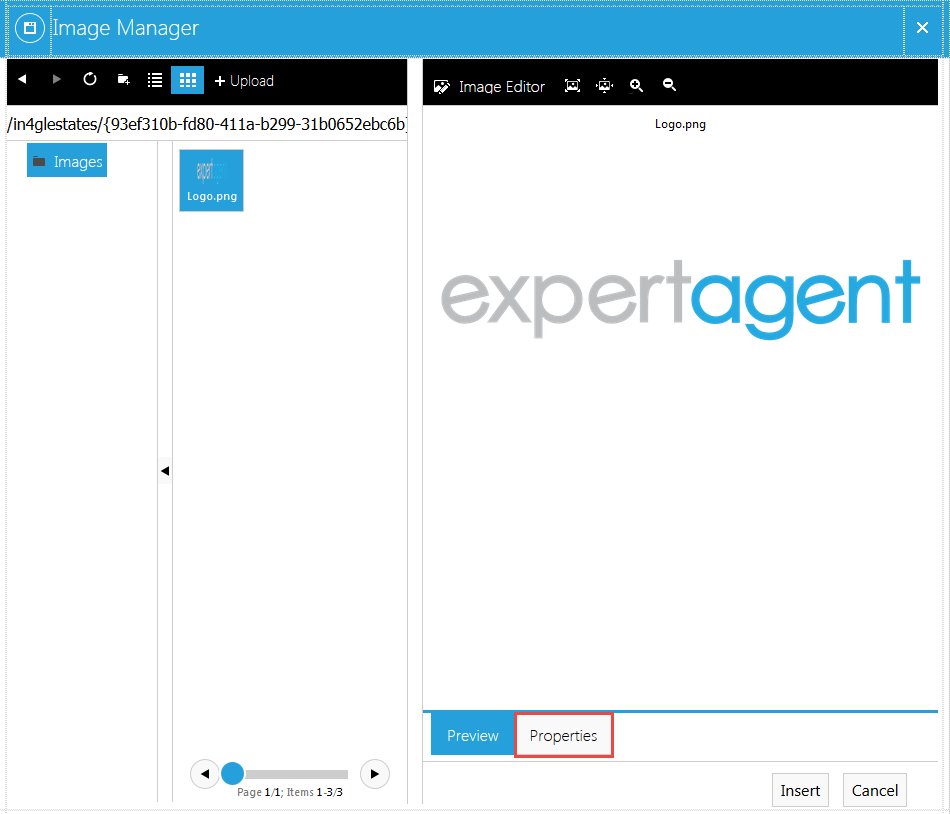
Adjust the Width and Height to your required size (If you adjust the Width, you may find that the Height automatically adjusts; this will keep the correct ratios of your logo.)
NB 250px is roughly equivalent to 1inch.
Click Insert.
Save and Close
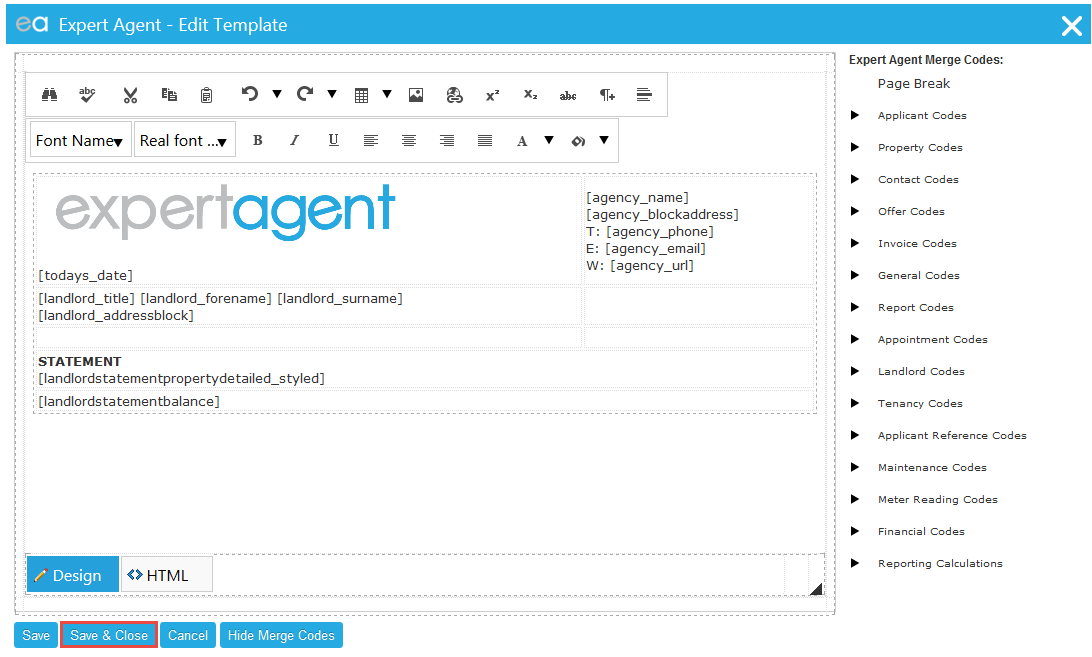
And then Save.
It is always a good idea to test new/edited templates before sending them to customers.
To test an HTML template, register yourself as a landlord and from your landlord record Richt Click> Outputs> Create A Letter / Email / SMS > and click on the template title. Once you have seen how to logo displays on the email, you can further adjust the size if needed.
Why Can't I See The Advert 1 Text Box?
First of all, what is an ad-blocker?
Ad blockers come in all shapes and sizes. Your internet browser may come with one built in, You may have a plugin such as “Ad-Block”, ABP (Ad Block Plus) etc, or you antivirus or security package may come with one.
Ad Blockers basically do what they say on the tin. They block “most” adverts from displaying on the website you are looking at. Which is why many websites ask you to disable the adblocker for their site, as advertising is their main source of income.
Additionally, Some adverts can contain malicious code, or may take you to an undesirable site, or can leave tracking cookies in your browser.
Issues Caused by ad-blockers
Many Ad-Blockers work within a keyword framework. They check the code behind a website, and if it detects the word ”advert” such as Expert Agent’s “advert 1” field, it removes that section from the page totally. Which in turn means you cannot enter text into Advert 1, therefore meaning that the property cannot be uploaded to certain portals (effective marketing is impossible).
How to fix the issue
Sadly, due to the varying amount of Ad-BLockers on the market, we cannot explain how to add exceptions to all of them. However, the most common ones will be covered below, and if you ad-blocker is not listed, we will explain how to find out how to make an exception on your version.
You can usually tell if you have an ad-blocker, as it will have an icon (usually red if its enabled on the site you are on) at the top right of your browser.
Adblock

To set an exception for Ad-Block, click on the icon, and select "Options".
1) Click on the Customize option
2) From Manually Edit Your Filters, select the Edit option
3) Enter @@||expertagent.co.uk/$document (copy and paste from here but please only do this for AdBlock specifically, this will not work for other ad-blockers).
The Edit button will be replaced with Save, so press that.
Back in Expert Agent, press F5 on your PC keyboard (you might need to press the FN key on your keyboard at the same time if you are using a laptop) to reload the page and you should see the Advert 1 box now shows.
ABP (Ad Block Plus)

To set an exception for ABP, click on the icon and select Options. You should see t he follow screen.
1) Click on "Whitelisted Domains".
2) Enter the website you want to whitelist (i.e expertagent.co.uk - no need for the www)
3) Click "Add Domain"
4) The domain should be listed in the box.
Back in Expert Agent, press F5 on your PC keyboard (you might need to press the FN key on your keyboard at the same time if you are using a laptop) to reload the page and you should see the Advert 1 box now shows.
When ad-blockers are disabled, the icons will look like this: 
Other Ad-Blockers
As previously mentioned, you may find that you have another plugin blocking Adverts. Generally speaking, you should be able to click (or Right Click) the icon to find out more information about the plugin. You may find they have very useful guides on how to set exceptions. But you will probably find that they don't!
The key thing to do in this case is to identify exactly which plugin you have. When right clicking on the icon, you should see at the top, the first option is usually the name of the plugin. Or you may need to dig a little deeper and the find the "About" option.
If you can'[t identify what one you are using you may need to speak to your IT people.
Once you know what the ad-blocker is called, google the following phrase, inserting your ad0blockers name accordingly:

You will find plenty of resources explaining how to add exceptions to the ad-blocker you have.
You don't have any icons, but the advert box is still missing
This is slightly more problematic. Especially for those who aren't particularly tech savvy. So if you have an IT person you can consult, it is recommended to do so.
The reason for this one is that a lot of security packages come with an Ad-Blocker built in. It's not an add-on, or plugin in your browser as such, therefore cannot be adjusted in the same way as others can. But it does take over your browser in an attempt to make it more secure. In this case, the exceptions need to be added through your security software. This is why we must stress that if you are not 100% confident, speak to your IT team. As if you get a setting wrong in your security software, you could make your computer extremely vulnerable. By creating an exception for Expert Agent, you are keeping your computer safe but allowing Expert Agent to work correctly.
Tel: 01225 303500 | Email: account.managers@webskyltd.com
Terms of Business | Cookie Policy | Privacy Policy | ZPG Modern Slavery Statement
Designed by the Expert Agent Design Department
