 Login
Login


How do I set my contractor as VAT registered so 20% is automatically added to purchase invoices?
We have recently made changes to the way VAT is treated on purchase invoices meaning that you will need to ensure you have your contractors set up correctly. For any VAT registered contractors you use, you will need to open their contact record and go to the financial tab and tick the VAT registered tick box. If their standard rate is anything other than 20%, over-type the percentage figure before you save the contractor record.

This will mean that when you create a purchase invoice and select your contractor, the VAT rate in the drop-down will default to 'Standard' and show 20%.

You can then simply type the Net amount in, and the other figures will automatically calculate for you.
If when you select your contractor, the VAT rate defaults to 'No VAT', OR when you change the VAT rate in the dropdown to 'standard' the percentage still displays as 0% - this means that they have not been set up as a VAT registered contractor correctly. Please go into their record and set them up correctly as explained above before continuing any further.
DO NOT leave the VAT rate as 'No VAT' and over-type the VAT amount field- this may cause you issues with your accounts and you will be presented with the following pop-up:
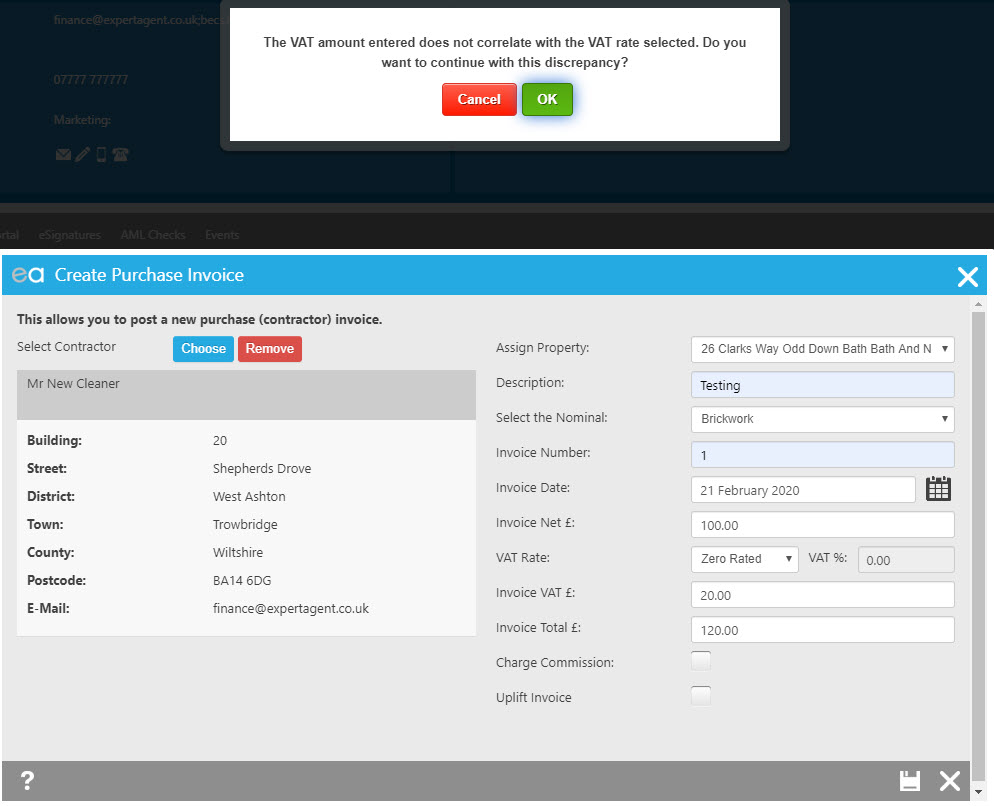
You should only ever need to type into the VAT amount field in the instance you have a rounding issue between the contractors VAT calculation and Expert Agents.
If you try to type straight into the total field rather than following the above workflow you will get the following error:
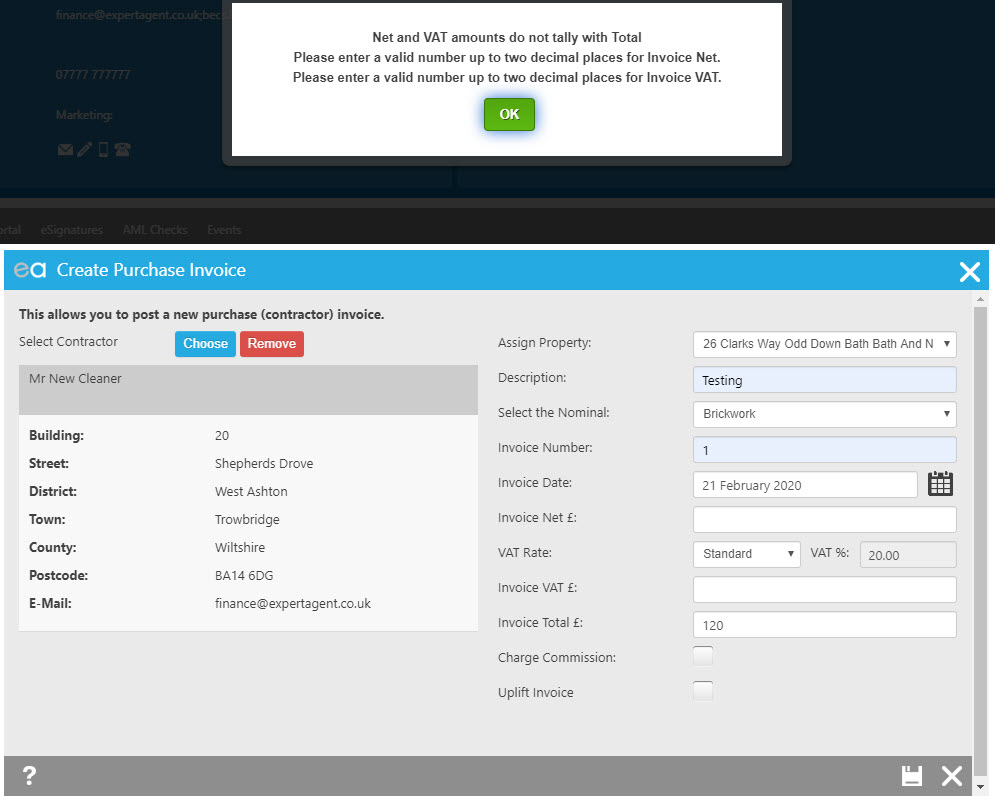
And you will then need to complete the Net amount anyway before you can continue. If you are unsure, please contact the Expert Agent support team by logging a support ticket.
Why are some images dull when uploaded to Expert Agent?
Images which have been manipulated in a photo editing program (Such as Photoshop) can occasionally appear with a duller colour when uploaded to Expert agent.
The reason for the colour in your images changing is due to the colour space which has been saved within an Adobe program. This is easily resolved by ensuring that the images are re-saved in Photoshop using the Adobe RGB. The amended images can then be uploaded to the record.
If you are unsure of how this is done, please see https://helpx.adobe.com/photoshop-elements/using/setting-color-management.html for Adobe documentation on this issue.
Why am I seeing the error message 'Unable to find required merge codes' when I have inserted them into the document?
If you are seeing the following message:
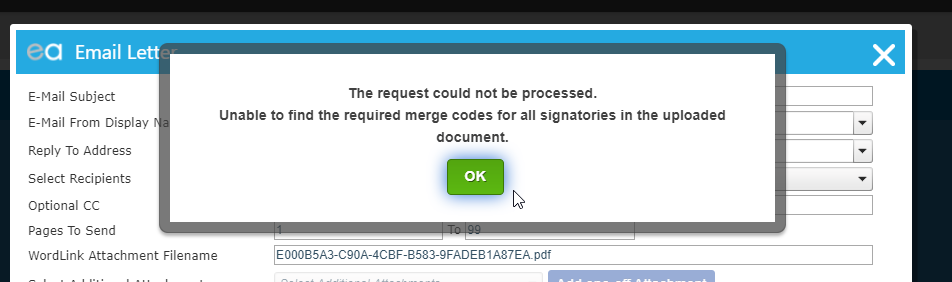
You will need to make sure that the template has been created, via Tools > Configuration > Templates, using the correct merge codes with the Correct (curly) bracket type provided in our merge codes list.
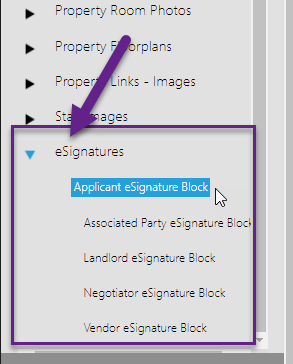
Please see examples below:
{landlord_esignature_block}
{applicant_esignature_block}
Once the letter is created through the record, the merge codes will format with square brackets:
[landlord_esignature_block]
[applicant_esignature_block]
This process should only happen with the generation of the letter, and not by manually inserting the merge codes with the square brackets, as these will not merge in the same when sending the document for eSign.
Please see Producing your first standard letter for an explanation on how to create a template via the individual record, within Expert Agent.
What should I do if a Tenant has paid for something on behalf of the Landlord and the Landlord has agreed to receive less rent?
If you have a scenario where a Tenant has paid for something at the Property on behalf of the Landlord and the Landlord has agreed to receive less rent as a result, you can use the Write off Rent function for this.
The Write off Rent function will allow you write off a full rent or a portion of the rent in Expert Agent.
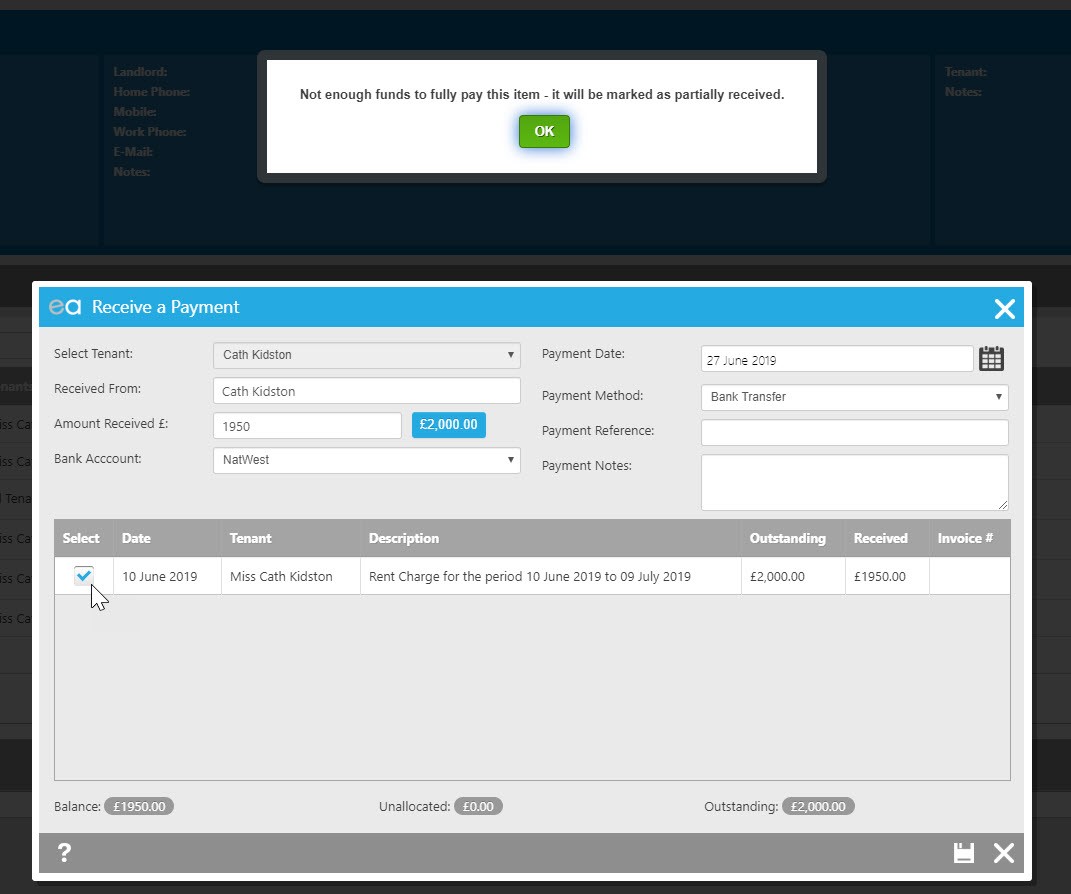
Allow the rent charge to raise as normal (for the full rent amount). When the tenant makes their payment to you, receipt in the amount received from the Tenant via your usual method. Ensure that you enter into the "amount received" box/edit the "amount received" to the amount that has been paid to you and not the full rent amount. The Rent will be marked as partially received when you save.
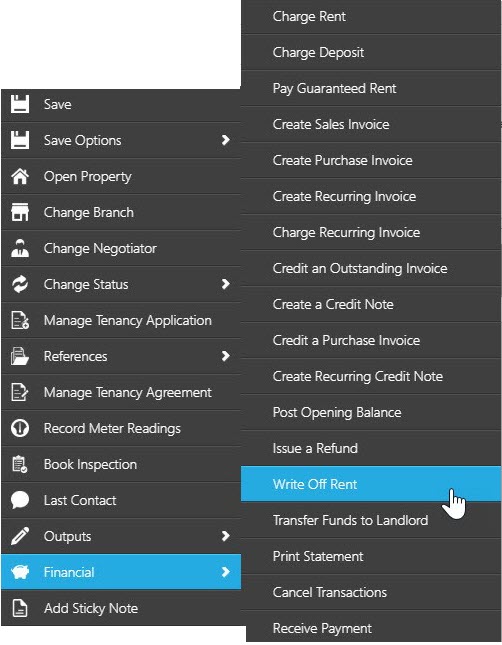
Now that the Rent charge is marked as partially received, we can next write off the outstanding amount as agreed by the Landlord. To do this, on the Tenancy record - right click – Financial – Write Off Rent
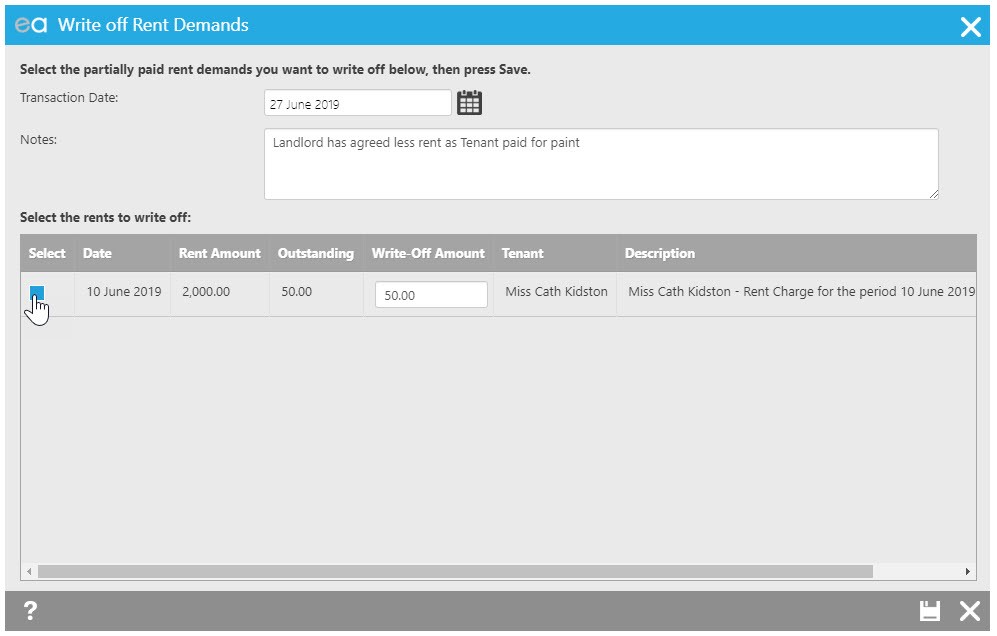
The Write off Rent Demands window will open showing any rents that are available to be written off. Firstly, enter in the Notes field the reason for the rent write off then tick the “Select” tick box alongside the rent. Confirm the “Write-Off Amount” to ensure it’s correct and Save.
We can now see the rent being written off on the Tenancy Statement with the reason for the write off

If the Landlord has agreed the reduction in rent but will still be charged your full Management Fee – once the portion of the rent has been written off, the Management Fee will be charged based on the amount received.
For this scenario, you will need to Cancel the automatically generated Management Fee from the Landlord record and manually create a Sales Invoice from the Landlord record for your Management Fee charge at the full amount.
Tel: 01225 303500 | Email: account.managers@webskyltd.com
Terms of Business | Cookie Policy | Privacy Policy | ZPG Modern Slavery Statement
Designed by the Expert Agent Design Department
