 Login
Login


Why have I got a message saying "No Rent Payer Set Up"?
If when trying to manually charge rent, you get a pop up message stating that there is no rent payer set up then it may be because you do not have a date in the Next Rent Due field.
This field can be found on the tenant tab of the tenancy record,, click "Edit" next to the specified Tenant, and enter the "Next Rent Due Date".

Why did the rent not automatically charge for this tenancy?
There are a number of criteria that needs to be met before the system will run the process on an individual tenancy.
- Automatically Charge Rent is ticked in Financial Defaults and the Agency has Finance enabled
- Tenancy has Automatically Charge Rent ticked
- Rent Due date (found in tenant tab of tenancy record) has been populated and is less than or equal to today’s date
- The tenancy hasn't yet passed it's tenancy end date
- Rent amount on the tenant tab is greater than £0.00
- Tenancy Status is Reserved or Let
- The total split between landlords on the property adds up to 100%
- The management type is set one that has a type of Rent Collection or Fully Managed (you can check this in Setup Prompts in Configuration)
The most common reason for rent not being charged automatically when it is expected to be is the Rent Next Due date not being populated. This field is populated when the rent is charged via the Mark as Let Wizard (Tenancy Setup) but can be manually populated by clicking Edit in the tenant tab on the tenancy record.
Please remember this is an overnight process carried out by Expertagent and takes place at 3am. This means that once you have corrected your tenancy you will not see the rent charge immediately - but it will be created at 3am the following morning. If you need to see the charge immediately you will need to create this manually.
How do I add a search pod to my Facebook page?
A DISCLAIMER:
Due to changes at Facebook's end, this method is no longer supported by Expert Agent and the guide may not work. Those that have enabled this functionality previously may still be able to use it with no problems, however we cannot assist with any amendments or setups.
AND:
Please Note: Custom Tabs do not show on mobile devices without using a 3rd party (usually paid for) applications, unless something has changed recently.
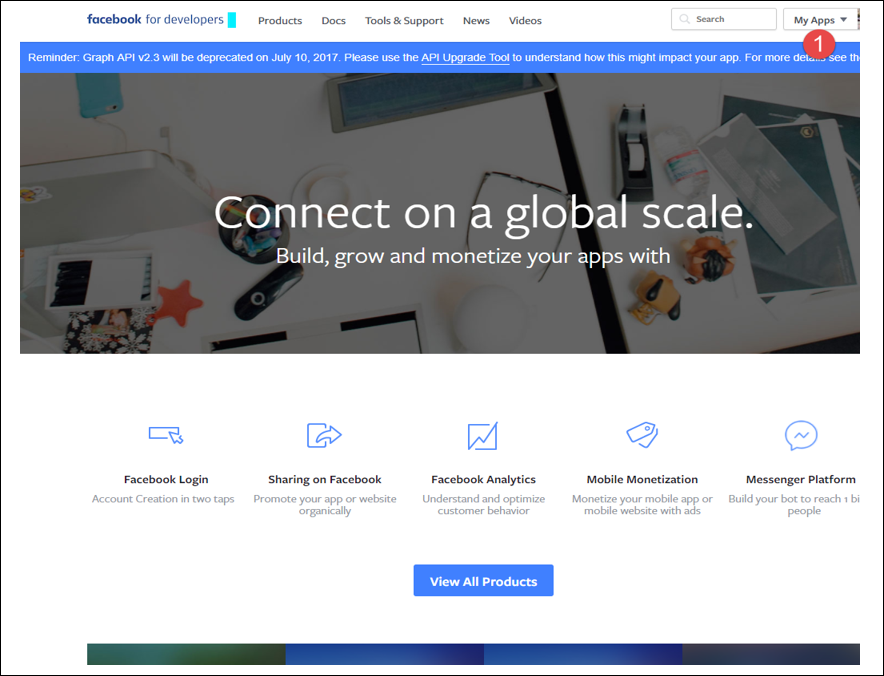
1) Go to https://developers.facebook.com/ and click the "Apps" drop-down, and the select "New App".
You will need to register the account as a developer account, by filling in the details when requested, and enter the confirmation code.
You will then be presented with the following screen:
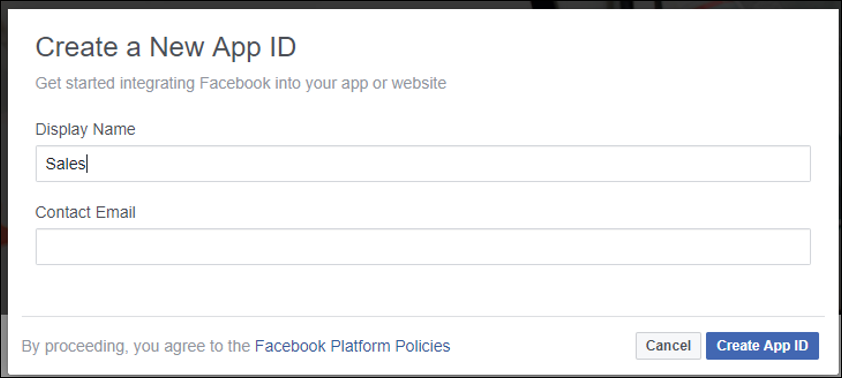
2) Enter a Display name such as Sales or Letting, and your contact email address if it's not already populated, then click "Create APP ID". You should see the following screen:
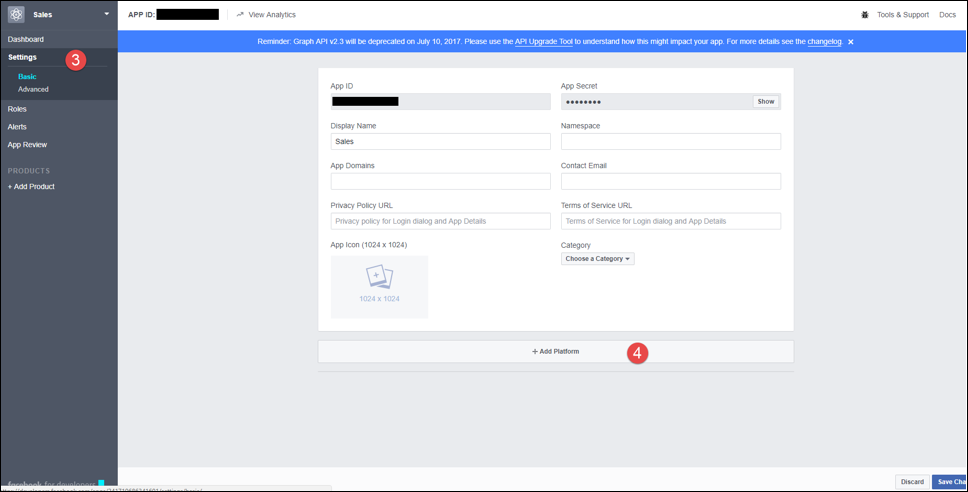
3) Click "Settings" on the left, and it should have "basic" selected by default.
4) Then click set the "Category" drop down to "Business", then click "add platform" at the bottom.
5) First, select the "website" platform, in the Website Module, add your website URL including http:// to the site URL field
6) Then click "add platform" again, and select "page tab", and you should see the following page.
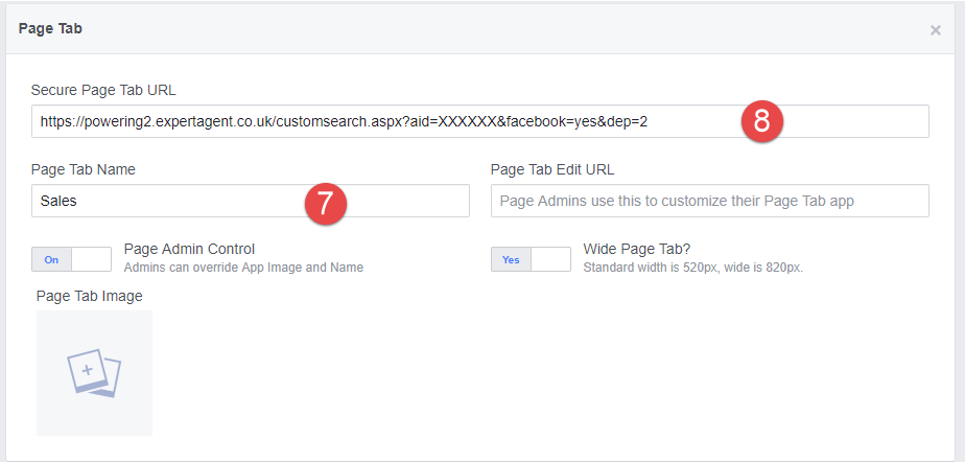
7) Enter a name for your app in this field, it can be anything you want (it won't appear as this on your page so don't worry about it too much)
8) You are going to need to grab your Agency GUID for this part of the journey. You can get this by going to Tools -> Configuration -> Website Configuration -> Powering Management.
You'll need this section of the URL: {76c20eab-0589-4eb-a7be-ce3182f07285}
Your GUID will be different to this but of a similar format
Take this URL:
http://powering2.expertagent.co.uk/customsearch.aspx?aid=XXXX&facebook=yes&dep=2
You'll need to replace the XXXX with the GUID including the brackets. In this case our URL would look like this:
http://powering2.expertagent.co.uk/customsearch.aspx?aid={76c20eab-0589-4aeb-a7be-ce3182f07285}&facebook=yes&dep=2 (to make the list descending order add &sort=desc to the end)
This is the URL you need to paste into the box for Number 8. (Please remember to change the dep= part of the URL to reflect your departments. These can be found via Tools -> Configuration -> Website Configuration -> Custom Powering Details.
Please keep the URL handy, as you may need it against later on through the process. (Paste it into a Notepad file for now - Text Wrangler if you are using a Mac).
9) Press Save.
You've no been presented with the page above, asking you where your app is hosted.
7) Enter a name for your app in this field, it can be anything you want (it won't appear as this on your page so don't worry about it too much).
8) You are going to need to grab your Agency GUID for this part. You can get this by going to Tools -> Configuration -> Website Configuration -> Powering Management.
You'll need this section of the URL: aid={76c20eab-0589-4aeb-a7be-ce3182f07285} (N.B. Your GUID will be different to this).
Take this URL: powering2.expertagent.co.uk/customsearch.aspx?aid=XXXX&facebook=yes&dep=2
You'll then need to replace the XXXX with the content including the brackets. In this case our URL would look like this: powering2.expertagent.co.uk/customsearch.aspx?aid={76c20eab-0589-4aeb-a7be-ce3182f07285}&facebook=yes&dep=2
To make the list descending order add "&sort=desc" to the end.
This is the URL you neeed to paste into the box for step 8. (Please remember to change the dep= part of the URL to reflect your departments. This can be found via Tools -> Configuration -> Website Configuration -> Custom Powering Details.
Please keep the URL handy, as you will need it again later on through this process (put it in a Notepad file for now).
9) Click Next to move on through the process. (Skip through the App Configuration Page and the Setup Login Page).
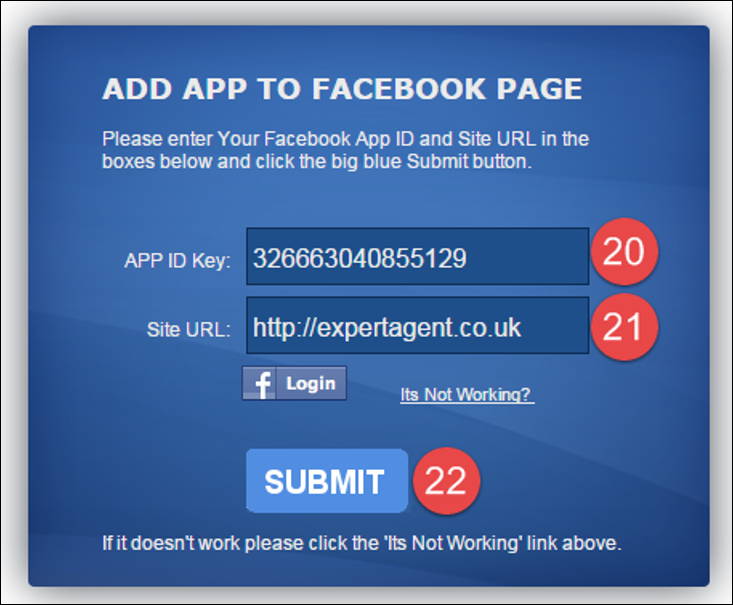
In this section you will need to open http://expertagent.co.uk/facebook
10) Grab your App ID Key, Enter it into field (20)
11) You now need to enter your website URL, including http:// (21)
12) Then click Submit (22). You should be taken to the following page:
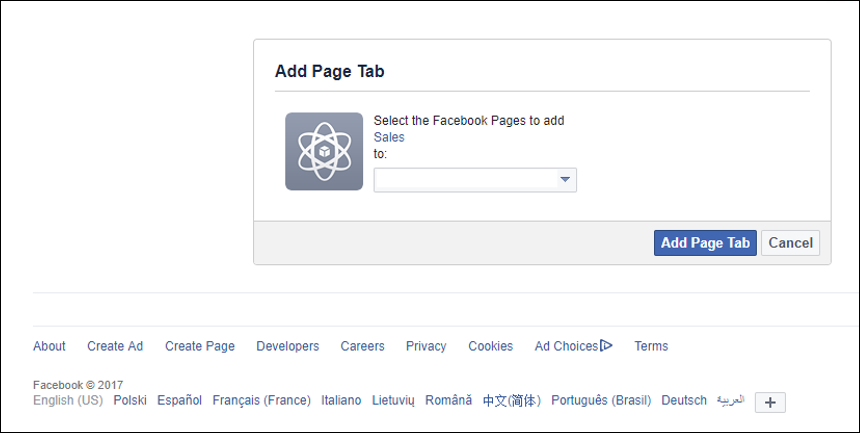
13) Select the page you want to add the search pod to in the drop down menu. Then click "Add Page Tab". You should now be able to see the tab on your page. However, it will not be visible to the public yet.
14) So navigate back to the development screen, go to "my apps" and select the one you just created. Then on the left hand side, look for the "app review" option and click it.
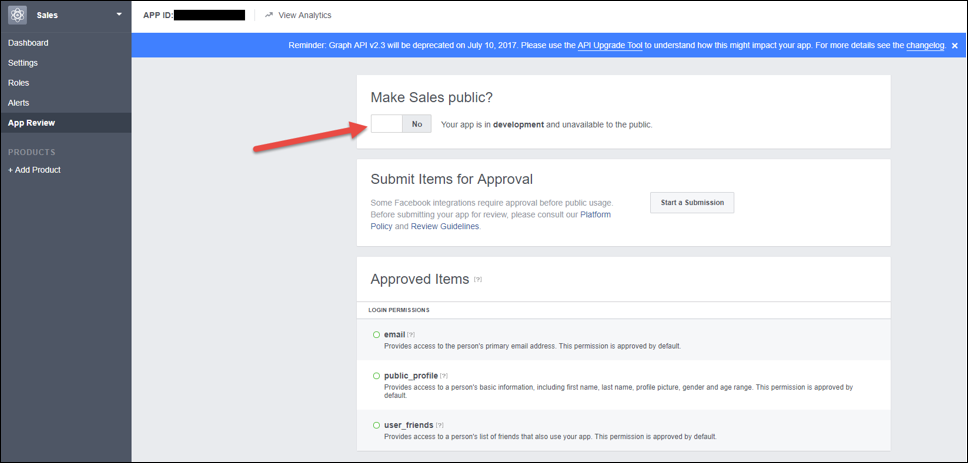
15) Assuming you are happy with the way it looks, change the indicated switch to "yes".
QR Codes
To find out more about QR codes look at the QR Codes chapter.
Tel: 01225 303500 | Email: account.managers@webskyltd.com
Terms of Business | Cookie Policy | Privacy Policy | ZPG Modern Slavery Statement
Designed by the Expert Agent Design Department
