 Login
Login


eSigning in Expert Agent
Expert Agent has added integration with PropertyFile, allowing you to create letters for eSignature within your existing Expert Agent software. There is no additional cost to use the functionality, it is included in your subscription.
Enabling PropertyFile for Expert Agent
Launching your PropertyFile Configuration
Configuring your Esigning Emails
Setting up your Word templates for eSigning
Setting up eSigning in the Configuration Single Branch
A Superuser in your office will need to create your PropertyFile account in order for you to use eSigning. To set up eSigning for an individual branch, they will need to go to Tools - Configuration - Business Configuration - PropertyFile
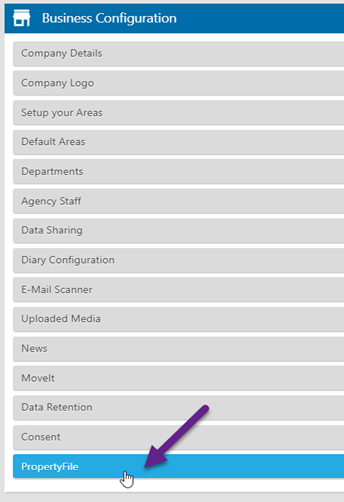
And complete the relevant details for your branch.
![]()
1: Add in a subdomain. The subdomain can be anything you wish but should relate to your agency name and contain only alphanumeric characters (no spaces)
2: Complete your name, email and contact number fields
3: Click to Activate PropertyFile
Once activated, you will get the option to launch the general configuration for PropertyFile.
PropertyFile Configuration
When setting up your configuration for PropertyFile, if you are a multi branch agency, you can decide to have all branches linked together or set them up individually.
Setting up Esigning Emails
From this configuration option, you will be able to amend the emails that are sent to your clients regarding their Esign documents.
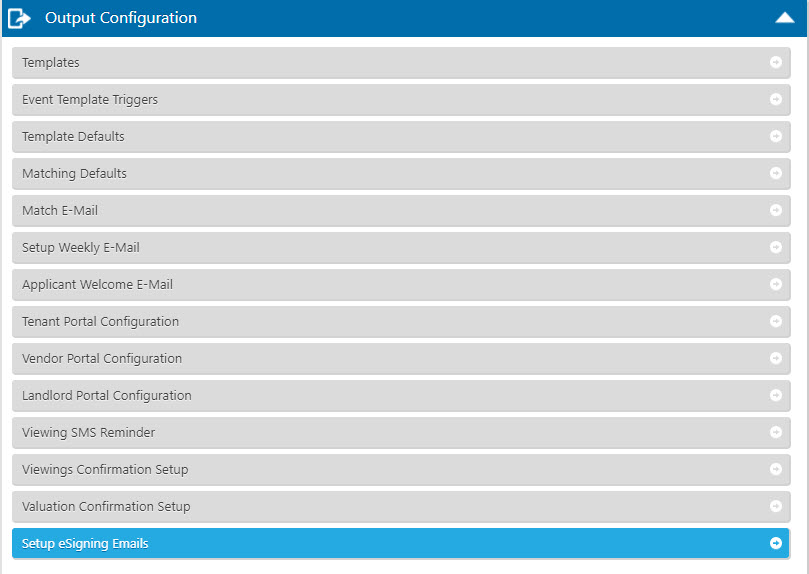
Move along the tabs in the grey bar to view the default text and make any amendments where necessary. For any multi branch agencies, this needs to be set from the branch that you selected as the main branch in your PropertyFile configuration and will be the same across any branches you selected to be in the same group.
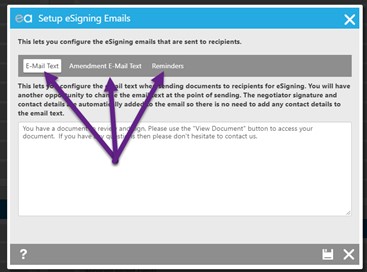
Email Text:
This is the email text that will appear in the recipient mailbox advising them there is a document that needs signing.
Amendment Email Text:
This is the default email text that will send out with an amended eSign document
Reminders:
You can enable reminders if you are wanting to remind your recipients to sign documents and the time frame you wish to remind them if the document has not yet been sent.
Remember to save any changes you make here.
Tel: 01225 303500 | Email: account.managers@webskyltd.com
Terms of Business | Cookie Policy | Privacy Policy | ZPG Modern Slavery Statement
Designed by the Expert Agent Design Department
