 Login
Login


Column Picker BETA
In our June 2018 release, we've created a new way for you to configure your grids within Expert Agent. This short video shows you how to use our new Column Picker BETA, giving you time to get used to the additional functionality.
Consent Configuration
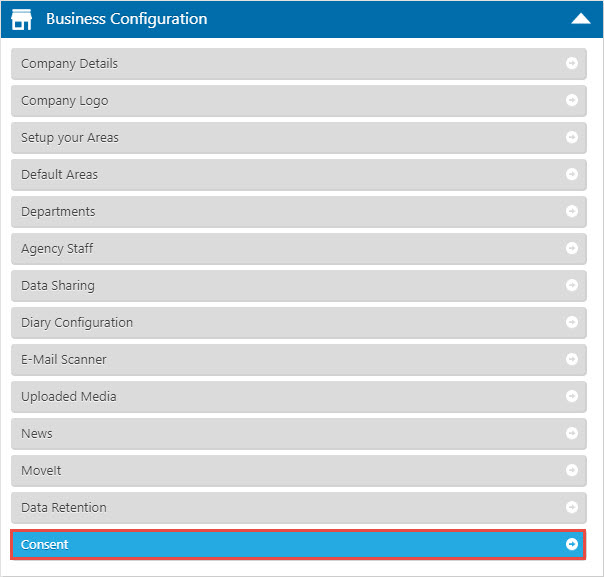
Clicking in to Consent allows you to adjust the default consent options on new Applicant, Landlord, and Vendor records. Without using this tick box, any records you enter in Expert Agent will say "Please Select" in all of their Consents, and you either select "Yes", "No", or "I did not ask".
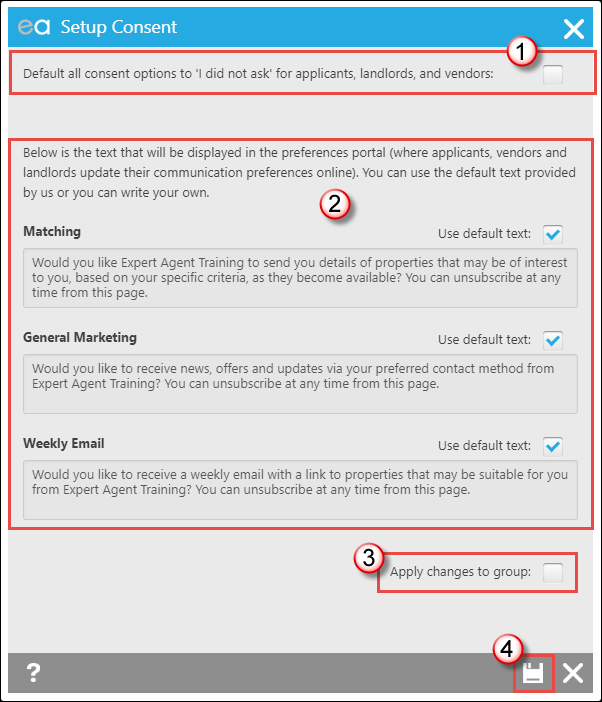
1) If you'd rather not be obliged to select an option every time, tick the box to have all records entered with the Consents set to "I forgot to ask", that way you only need to change the selection if the Applicant/Landlord/Vendor actively opted in or out of the specific communication.
2) On your Preferences Portals (for Applicants, Vendors and Landlords) you can change the text that explains what each consent is. If you wish to use your own text untick the "Use default text" tick box. If at any point you decide you wish to use the default text, just tick the "Use Default Text" tick box and the text will revert back.
3) Applying changes to the group here will apply ALL changes, not just the text changes.
4) Save.
Cookie Policy
We use cookies and other similar technologies to distinguish you from other users of our website. This helps us to provide you with a good experience when you browse our website (for example, to remember your details and improve our website). By using our website, you agree to our use of cookies.
The cookies on our website are either set by us or by third party partners and fall into the following categories:
First party session management
These are typically required by us to make sure you can move freely from one page to another and so that you can access and use certain services within the website. Normally, these cookies only last whilst your browser is open and are deleted when it is closed. Some may need to remain for the duration of your visit (a “session”) or longer.
| Cookie name | Description | Duration |
9b65ba8ab8ffe62c4a7c54d26bf4dd6e |
Used by our website to remember website search criteria and preferences |
Session |
cf1f106c6471dc73e434481e1d7729ec |
Used by our website to remember website search criteria and preferences |
Session |
Third party session management
These cookies are used to allow interaction between our website and certain of our third party providers when you are using our website.
| Cookie name | Description | Duration |
remote_sid |
Allows YouTube to store a unique user ID |
Session |
Performance
We want to ensure we provide a good experience. These cookies (which are set by third parties providing services to us) allow us to monitor how visitors use our website. These cookies provide us with anonymous statistics on how many people visit the website, where they have come from and the pages they visit so that we can continue to develop and improve the website and our services. They also help us understand the effectiveness of our advertising.
| Third party | Description |
Google Analytics |
Collects statistical information about how you use the site so that we can improve the site |
Functionality
These cookies allow you to set and store preferences for our website, such as when you are offered the option to customise elements of the layout or content of the website.
Google Analytics |
Social media integration |
Interest-based advertising
These cookies allow third parties to identify what you might find interesting, allowing a more personalised and relevant selection of advertisements to be displayed when you browse the internet. They normally won’t just be from us, but build an overall, but anonymous, picture of your preferences based on how you have browsed the internet to deliver more relevant advertising. You may see interest-based advertising on our website, but also on third party websites using information collected about your browsing activity on our website.
| Third party | Description |
YouTube |
Serves interest-based advertising on embedded YouTube videos |
Refusing or withdrawing your consent to cookies
You may adjust your browser settings to refuse cookies, but some of the services on our website may not work if you do so. You can find our more information about cookies at www.allaboutcookies.org and www.youronlinechoices.eu. You can disable cookies placed through AddThis by clicking here.
Links to other websites
Our website may contain links to other websites that are not run by us. If you follow a link to another website, please note that other websites have their own privacy policies and we are not responsible for those policies or other websites’ content. You should check these privacy policies before submitting any personal information to these websites.
Expert Agent Terms Of Business
To see our latest Terms of Business, please use the link below to our Website:
Tel: 01225 303500 | Email: account.managers@webskyltd.com
Terms of Business | Cookie Policy | Privacy Policy | ZPG Modern Slavery Statement
Designed by the Expert Agent Design Department
