How Do I Add A Logo To An HTML Template?
To insert a logo in to your HTML templates, you first need to open the master template.
Go to Tools in the top menu, and open Configuration.
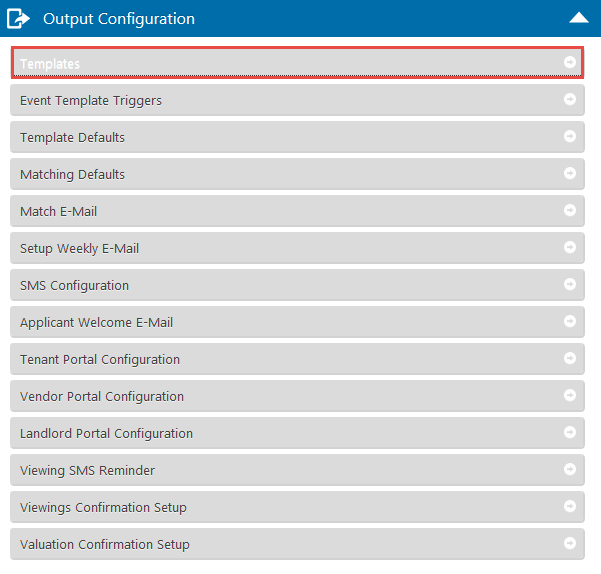
Under Output Configuration, select Templates.
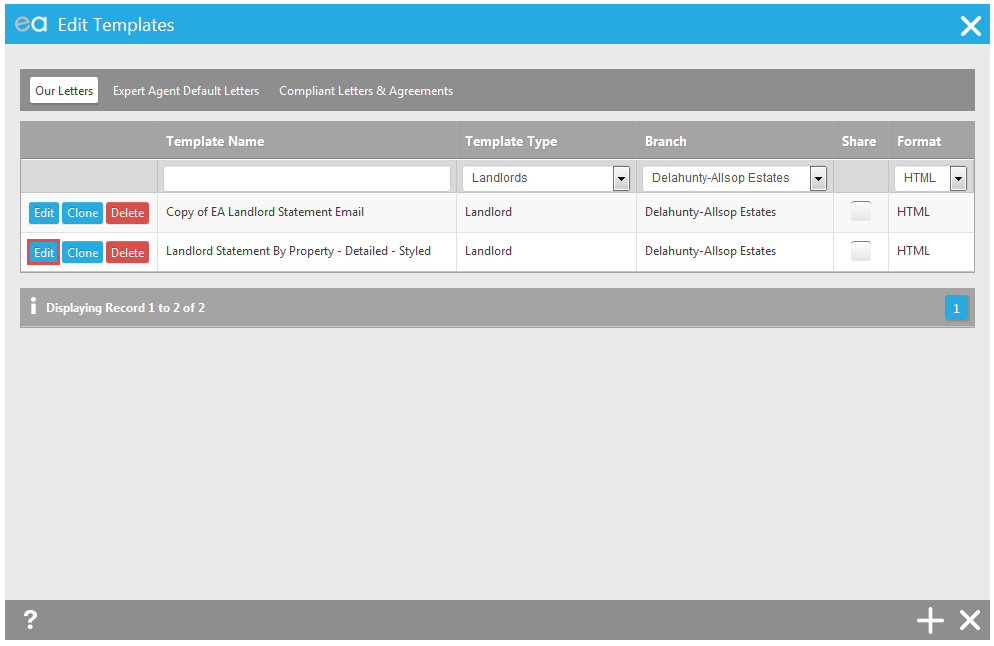
Find the document you are going to work with, and click Edit
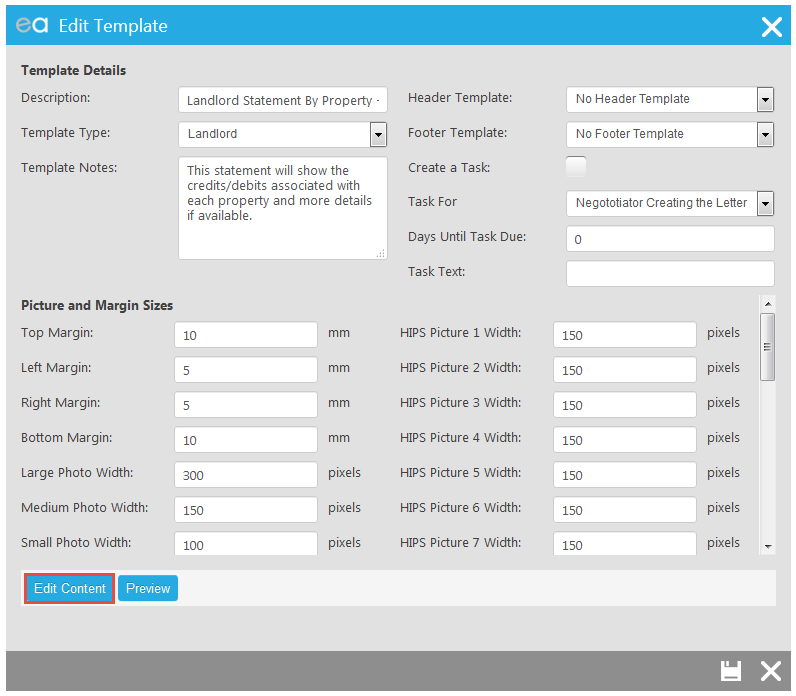
And then Edit Content
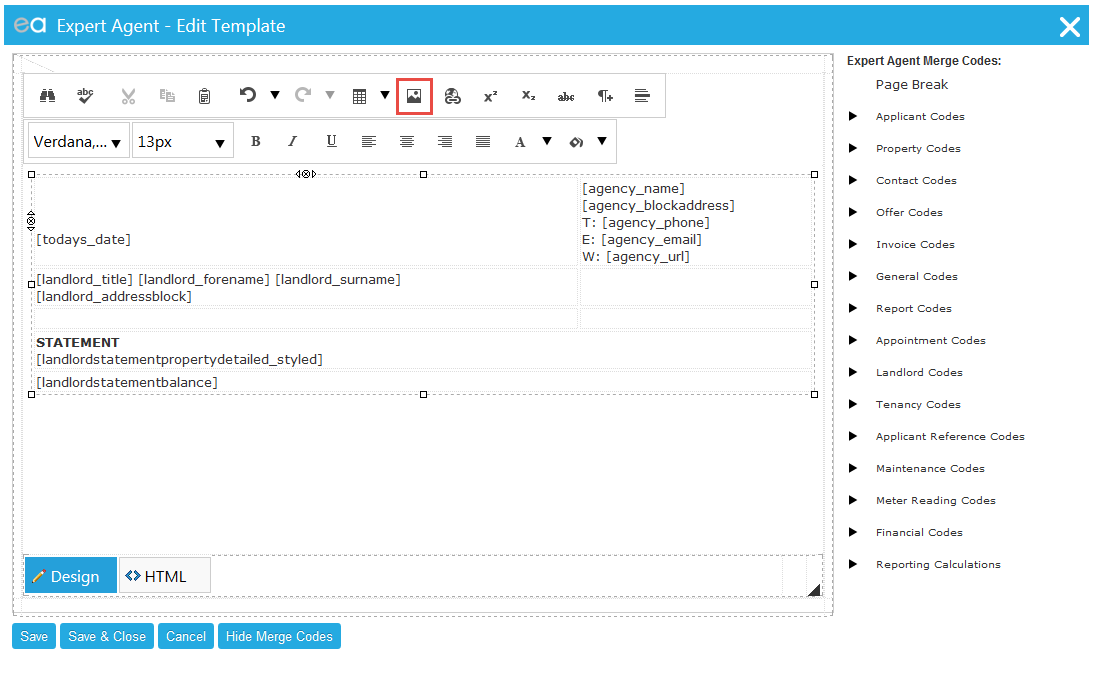
When the template opens, click the Image icon.
When Image Manager opens, click Upload.
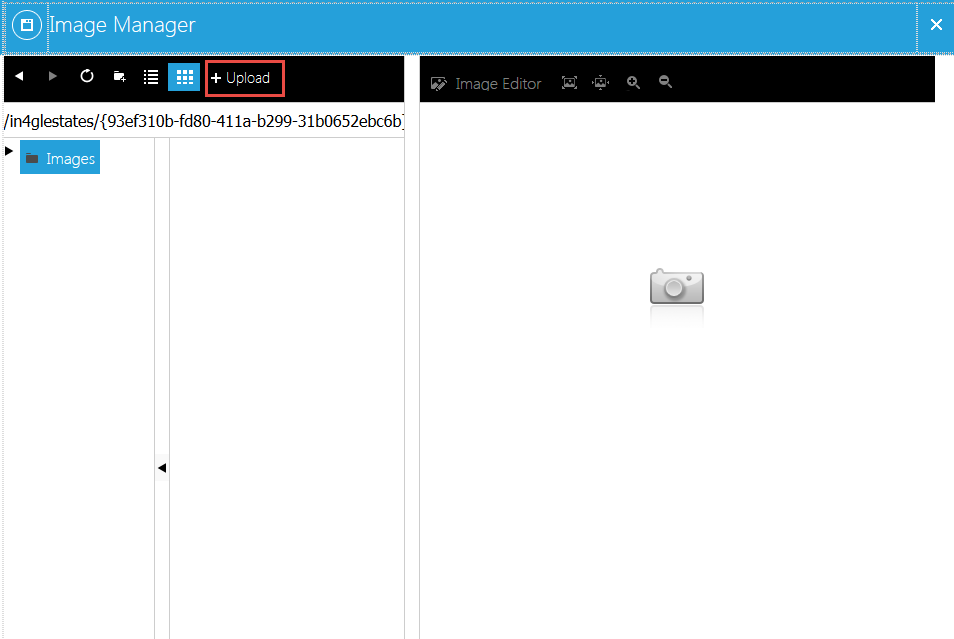
And then Select, and find your logo on your local hard drive
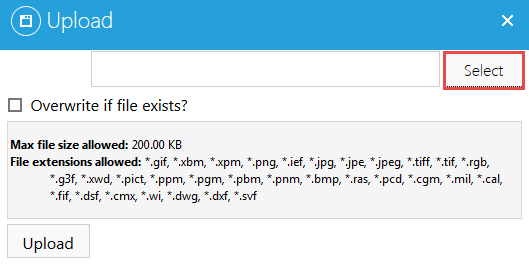
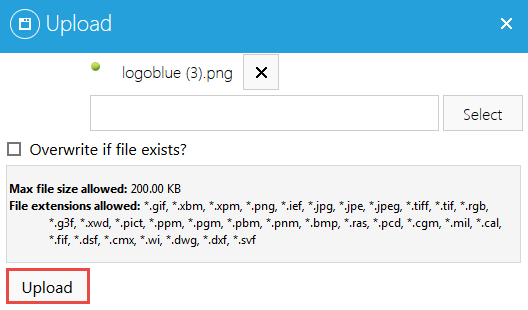
When your upload appears, click Upload
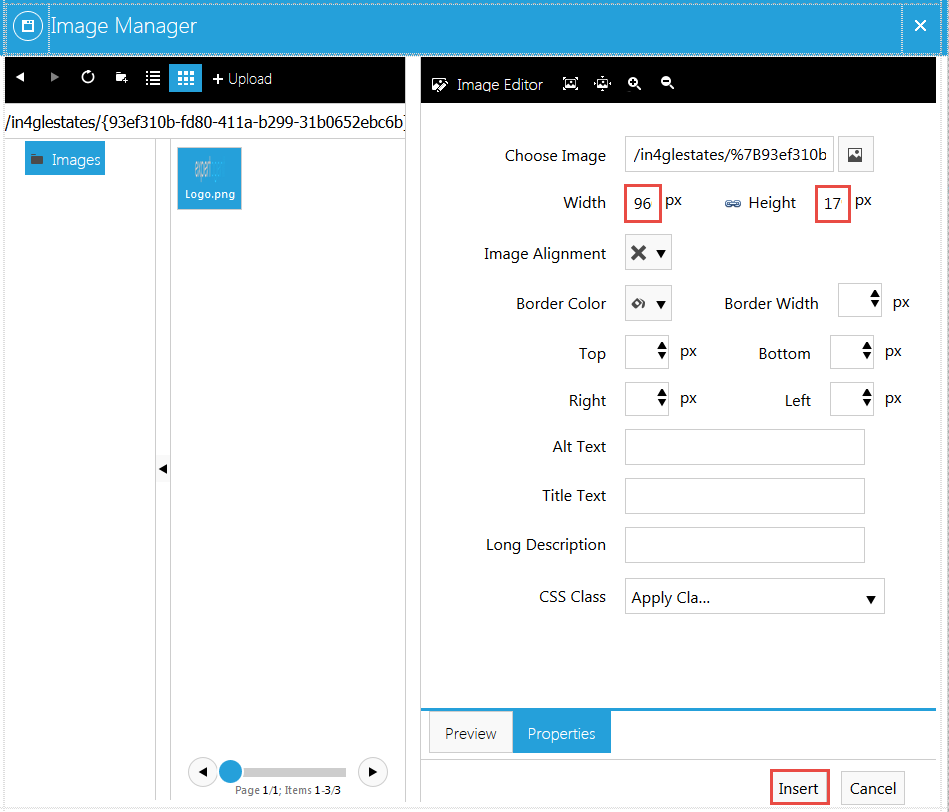
Your logo will display on the left hand side. Select the image, and then click Properties.
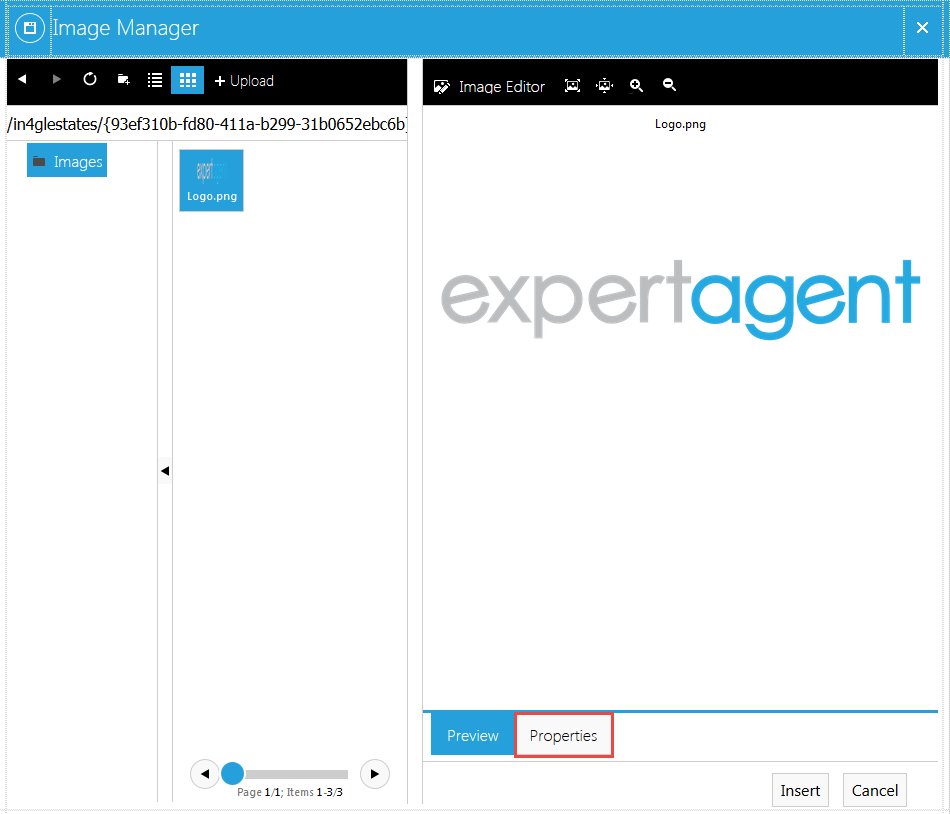
Adjust the Width and Height to your required size (If you adjust the Width, you may find that the Height automatically adjusts; this will keep the correct ratios of your logo.)
NB 250px is roughly equivalent to 1inch.
Click Insert.
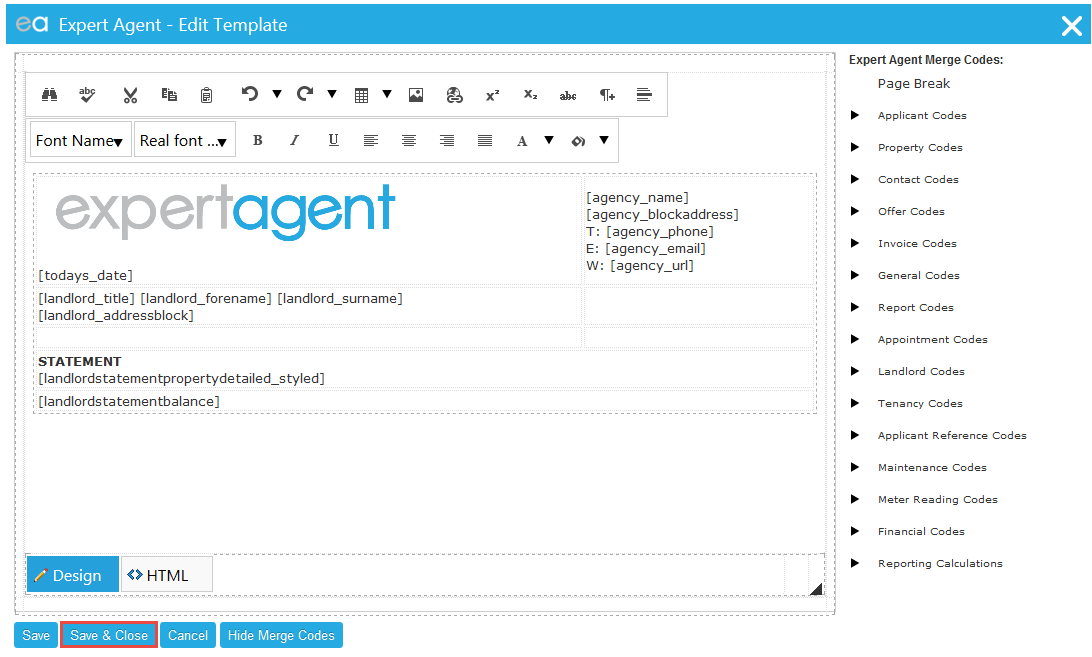
Save and Close
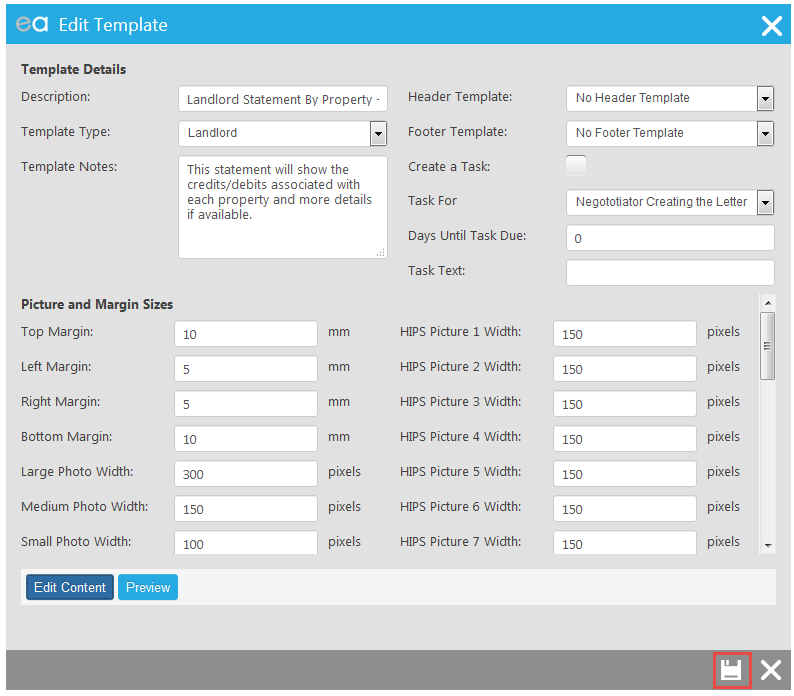
And then Save.
It is always a good idea to test new/edited templates before sending them to customers.
To test an HTML template, register yourself as a landlord and from your landlord record Richt Click> Outputs> Create A Letter / Email / SMS > and click on the template title. Once you have seen how to logo displays on the email, you can further adjust the size if needed.

 Login
Login

